
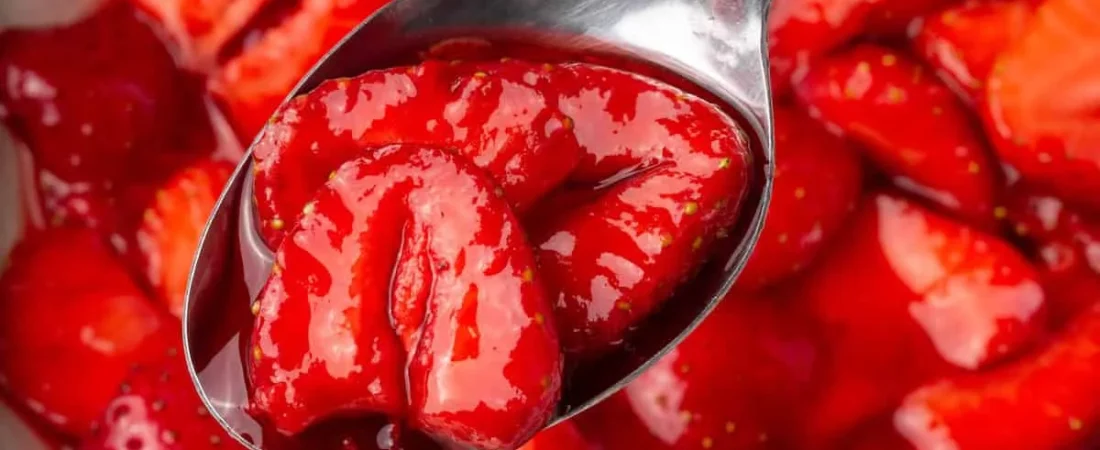
There’s a moment in every July when the farmers market starts selling the kind of strawberries you can tell were grown to be eaten, not displayed. That’s my signal. I go home, I wash them, and before long there are berries in the bread box, berries in the salad bowl, and a slow build-up of whatever else they end up in.
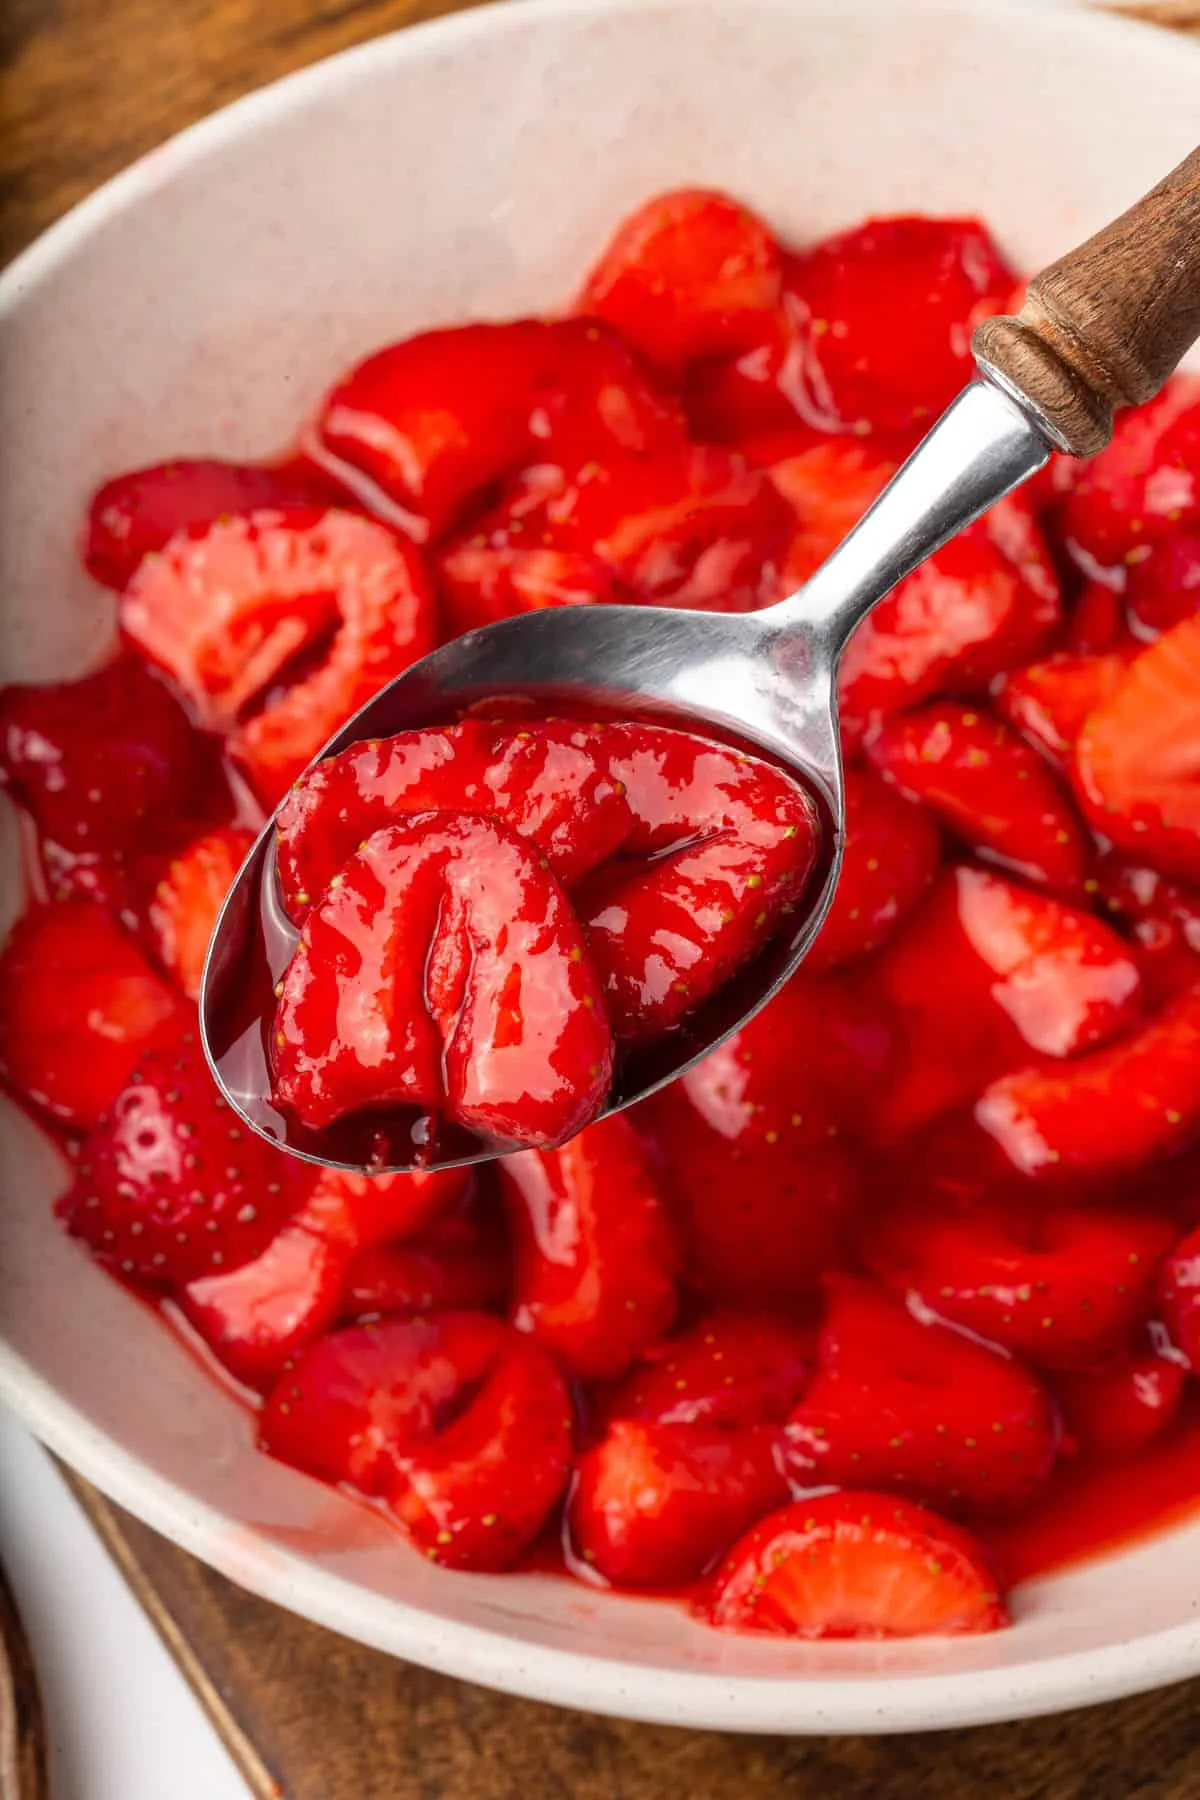
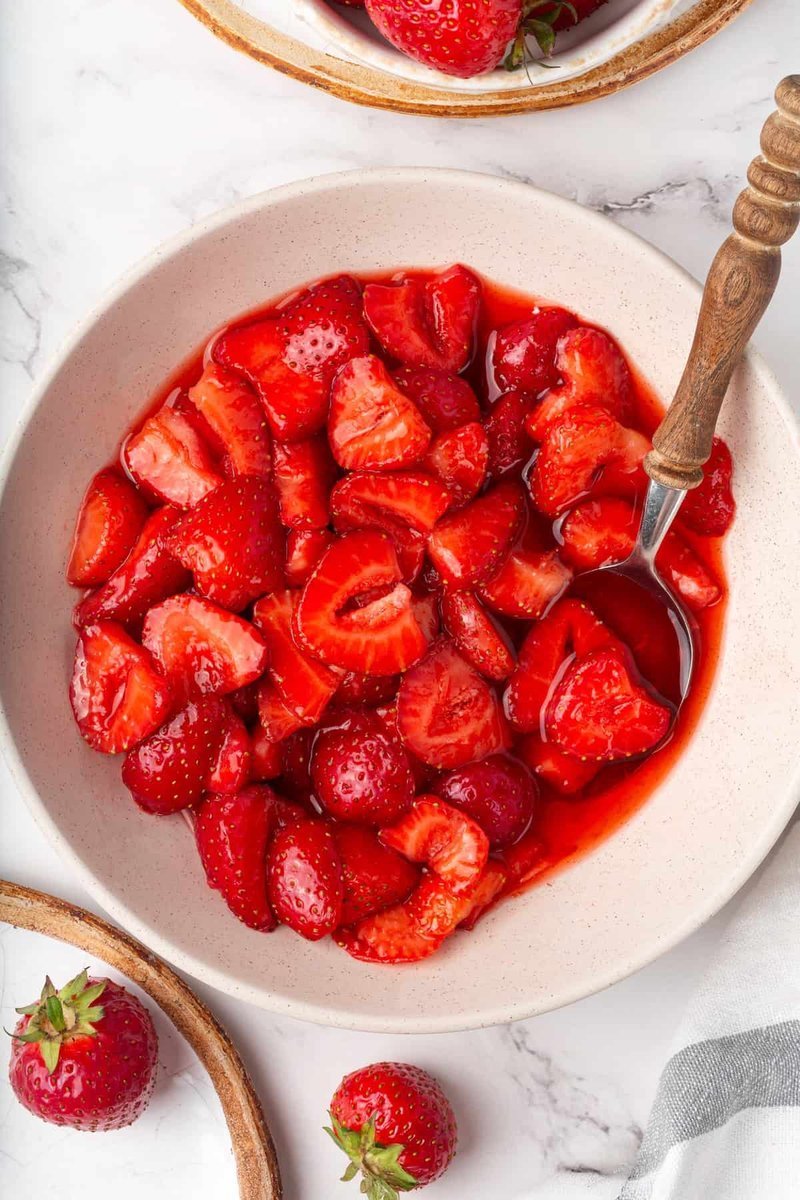
Macerated strawberries are my favorite of the season. You toss the berries with sugar, lemon juice, vanilla, and a tiny pinch of salt, and you basically do nothing for the next half hour. When you come back, they’ve softened and released their juices, and the sugar has turned into the most unbelievable glossy syrup.
The whole thing takes 30 to 70 minutes start to finish, depending on how soft you want the berries. Almost all of that is just… sitting in another room while the fruit does its thing.
Why This Is a Summer Staple
Five ingredients, no cooking, and you could be out of the kitchen in 10 minutes if you’re in a hurry. The berries come out incredibly juicy and syrupy without needing boatloads of sugar — the fruit’s own juices do most of the sweetening.
They’re the kind of thing that looks fancy on a plate but costs you nothing in effort. And they keep well, so if you’re making a double batch, you’ve got dessert covered for several days.
What You’ll Need
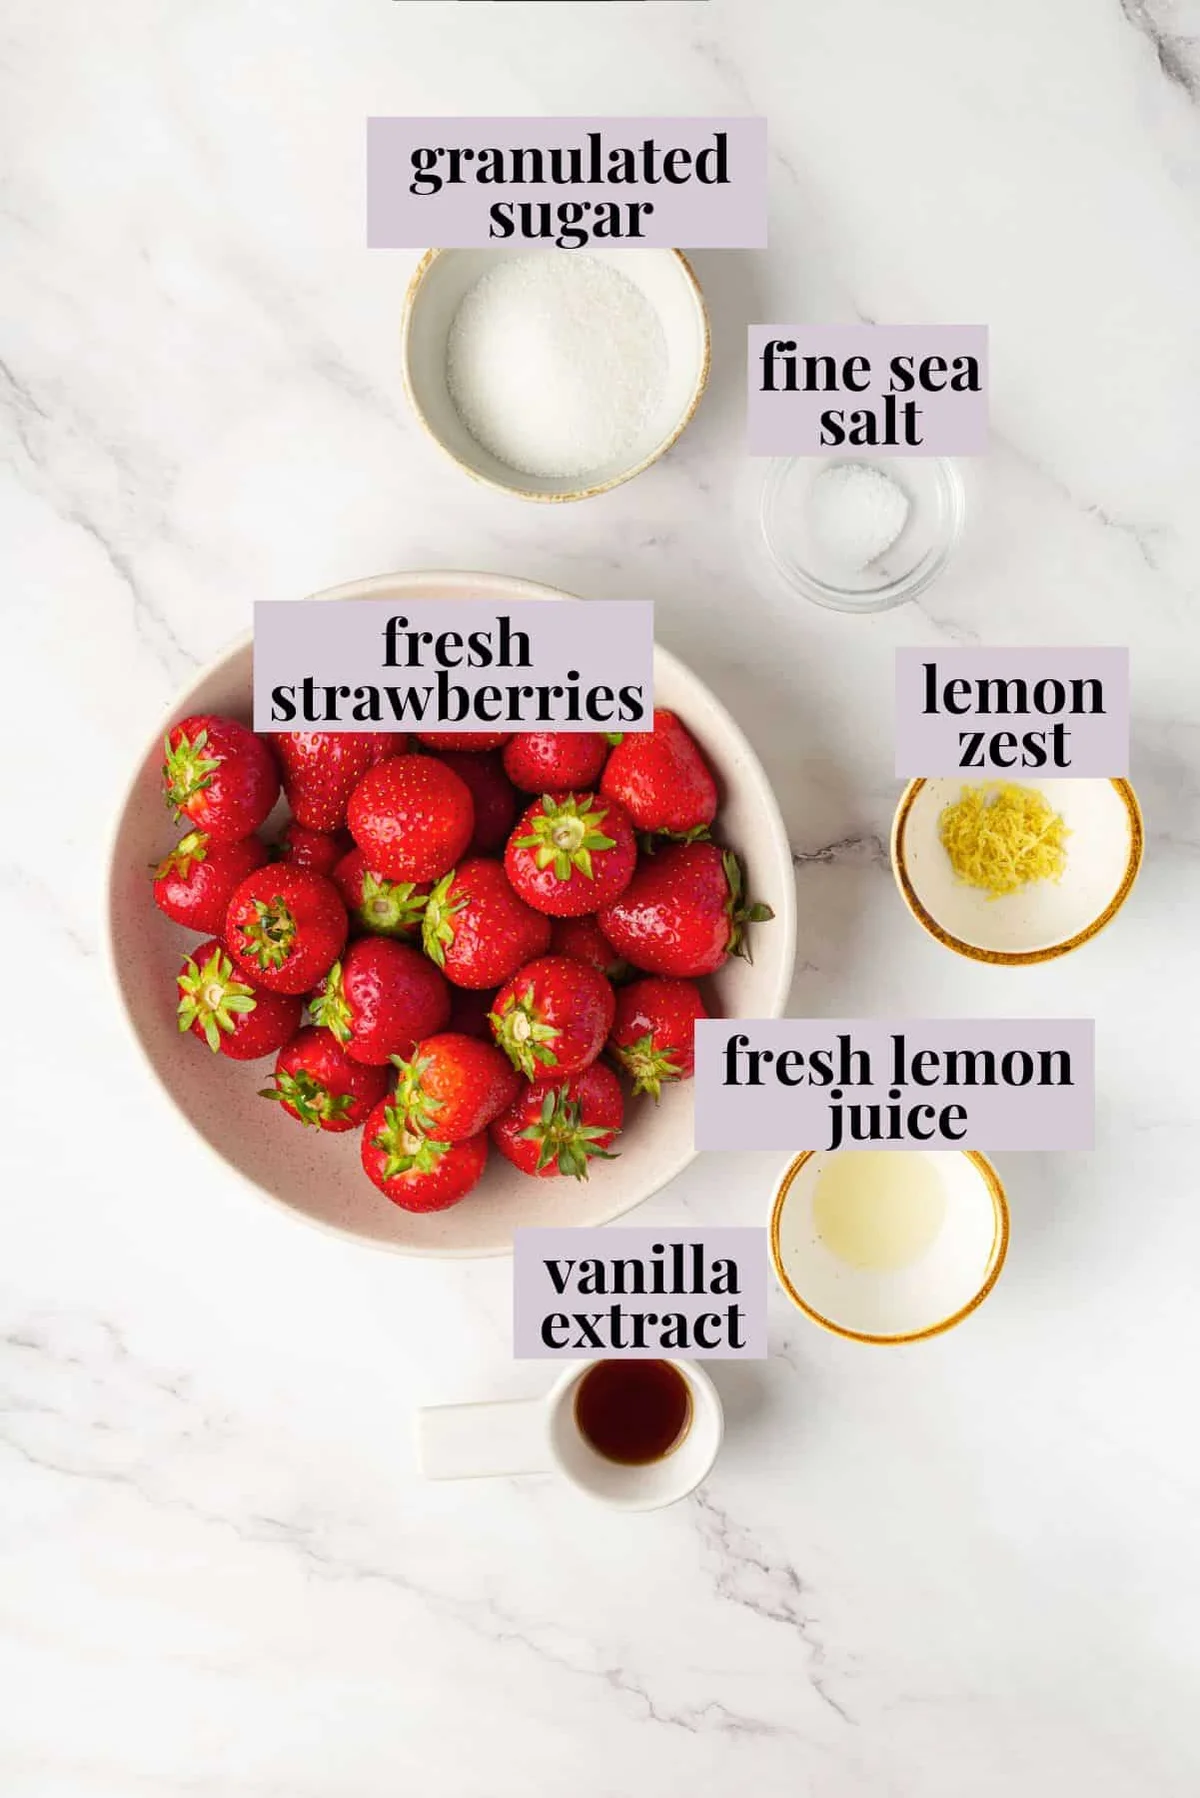
Just five things (the recipe card below has the full measurements):
- Fresh strawberries — Farmers’ market if you can. Look for deep red berries. I prefer the smaller ones; they tend to be sweeter.
- Granulated sugar — You could use brown sugar, but it adds a molasses note that takes away from that fresh, summery feel, in my opinion.
- Vanilla extract or vanilla bean paste — deepens the flavor a little.
- Fresh lemon juice — balances the sweetness. You won’t really taste it unless you add zest.
- A tiny pinch of fine sea salt — brings out the berries and keeps the whole thing from tipping too sweet.
Lemon zest is optional. I like the bright citrus lift it gives, but skip it if you want a cleaner strawberry-vanilla flavor.
What “Macerating” Actually Means
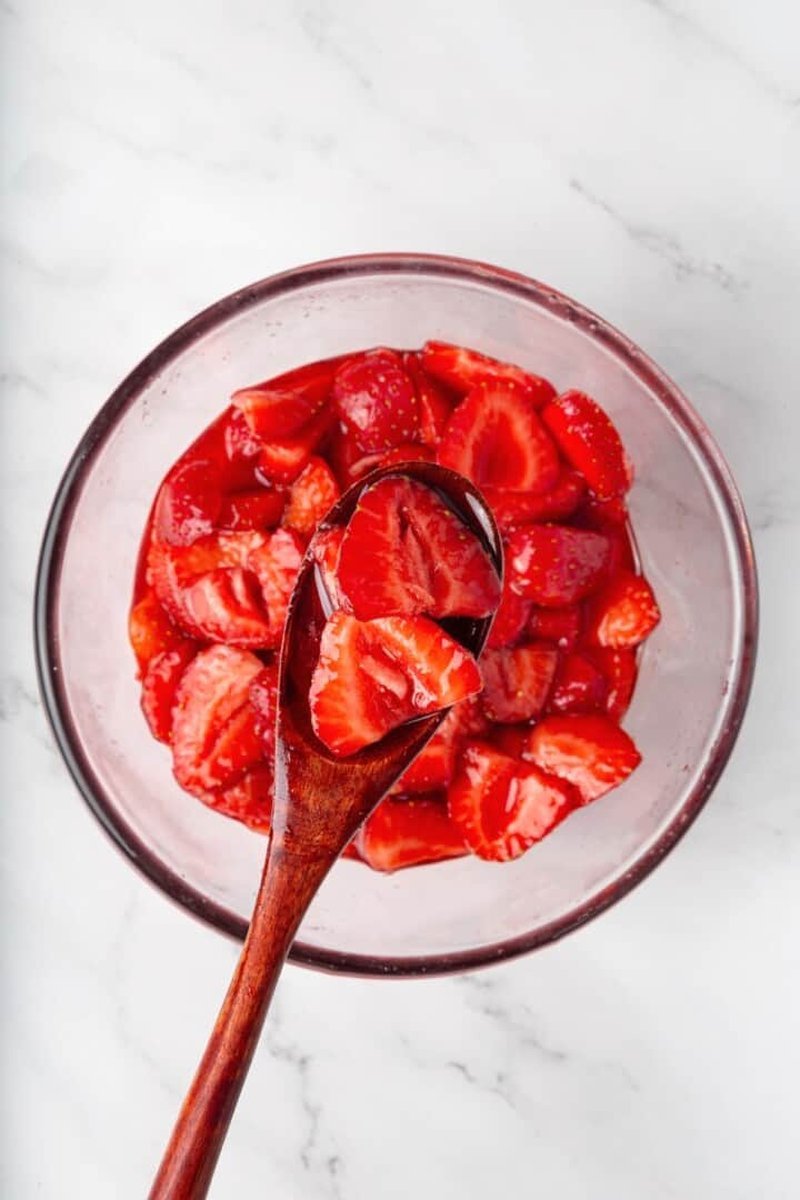
It’s a fancy word for a simple thing: the strawberries sit in the sugar, lemon, and vanilla, gradually soften, and release their juices. The juices mix with the sugar and turn into a smooth, glossy strawberry syrup. That’s all there is to it.
How to Macerate Strawberries
- Rinse and pat dry. Rinse the strawberries under cold water, then pat them completely dry with a clean towel. This matters — dry berries mean less watery syrup later.
- Hull and slice. Remove the green tops and slice the berries into even pieces. Cut very large ones into quarters; halve or thickly slice the smaller ones.
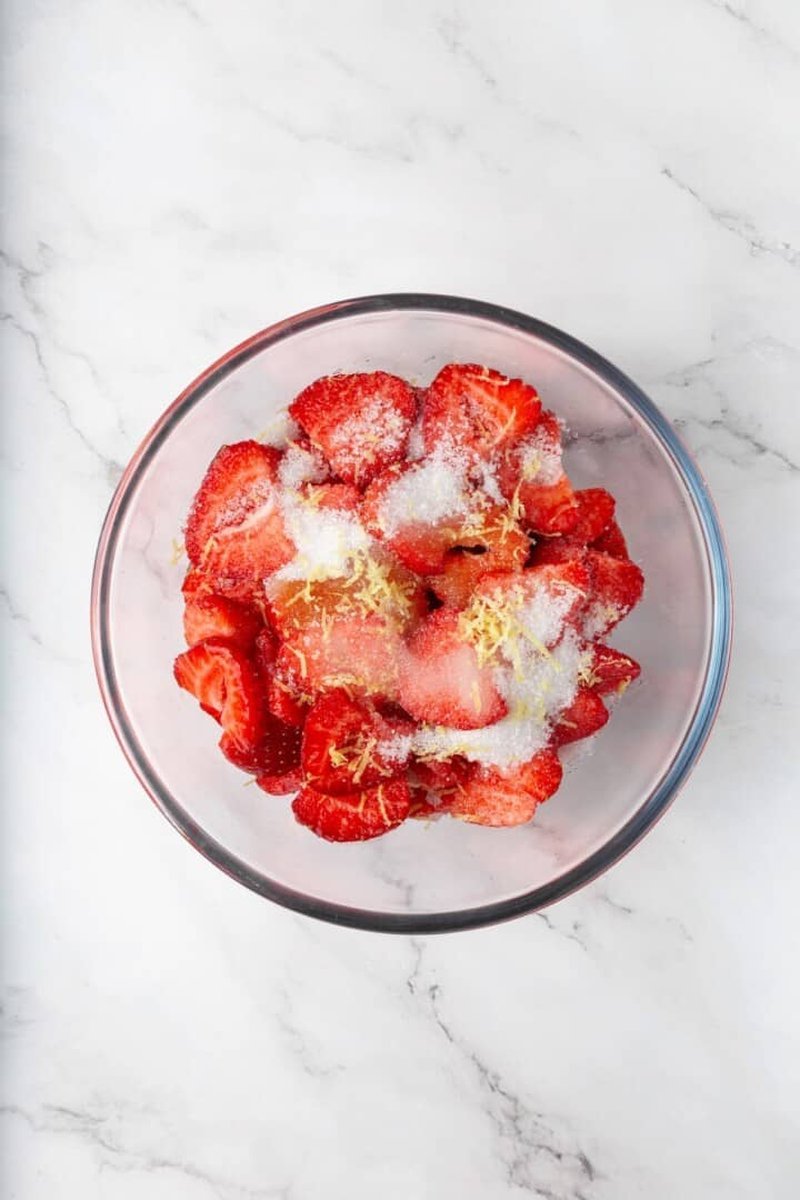
- Combine. In a medium bowl, add the sugar, vanilla, lemon juice, lemon zest (if using), and a small pinch of salt. Gently toss until the berries are evenly coated.
- Let them sit. Set the bowl at room temperature for 20 to 60 minutes, stirring once or twice. Twenty minutes gives you firmer berries; an hour gets you soft, juicy, syrupy.
- Serve. Eat them straight out of the bowl, or spoon them over whatever you’re having. Don’t skip the syrup in the bottom of the bowl — drizzle it over the top.
Ways to Use Them
Straight out of the bowl, they’re that good. But they’re even better as a topping:
- Spoon them over yogurt and granola
- Lay them on waffles or pancakes with a little whipped cream
- Cut biscuits in half and sandwich strawberries and cream between them for a quick strawberry shortcake
- Dump a scoop over vanilla ice cream or a warm mug cake
Storage
In an airtight container, macerated strawberries keep in the fridge for up to 5 days. You can also freeze them in a freezer-safe container for up to 3 months — just thaw them in the fridge before serving. Frozen-and-thawed berries will be a bit mushier and more watery, but they still taste amazing.
A Note From Nora
Here’s the first version of this I made last summer: I rushed the sit time because I was hungry, and I ended up with sugar-coated berries and a dry bowl. That was the lesson. The 20-minute minimum isn’t a suggestion — it’s the whole point. After that, this is the easiest “treat” I make all summer, and it passed the Tuesday test on the very first try.
If I can make it on a Tuesday, it’s a keeper.

Leave a Reply