
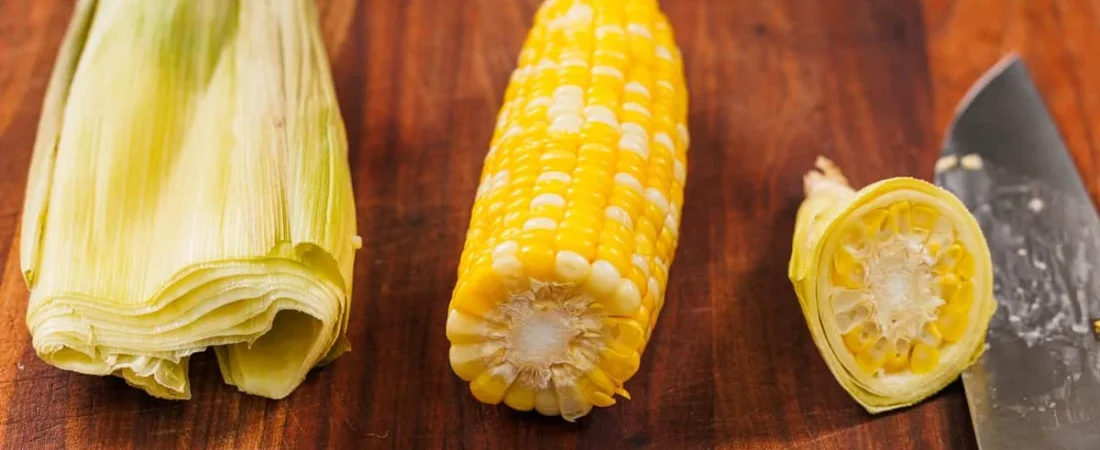
One Tuesday in late July, I came home with two ears of corn from the farmers’ market, a dinner to plate by seven, and zero desire to stand over a boiling pot of water. So I did the thing I should have done years ago: I microwaved them, husk and all.
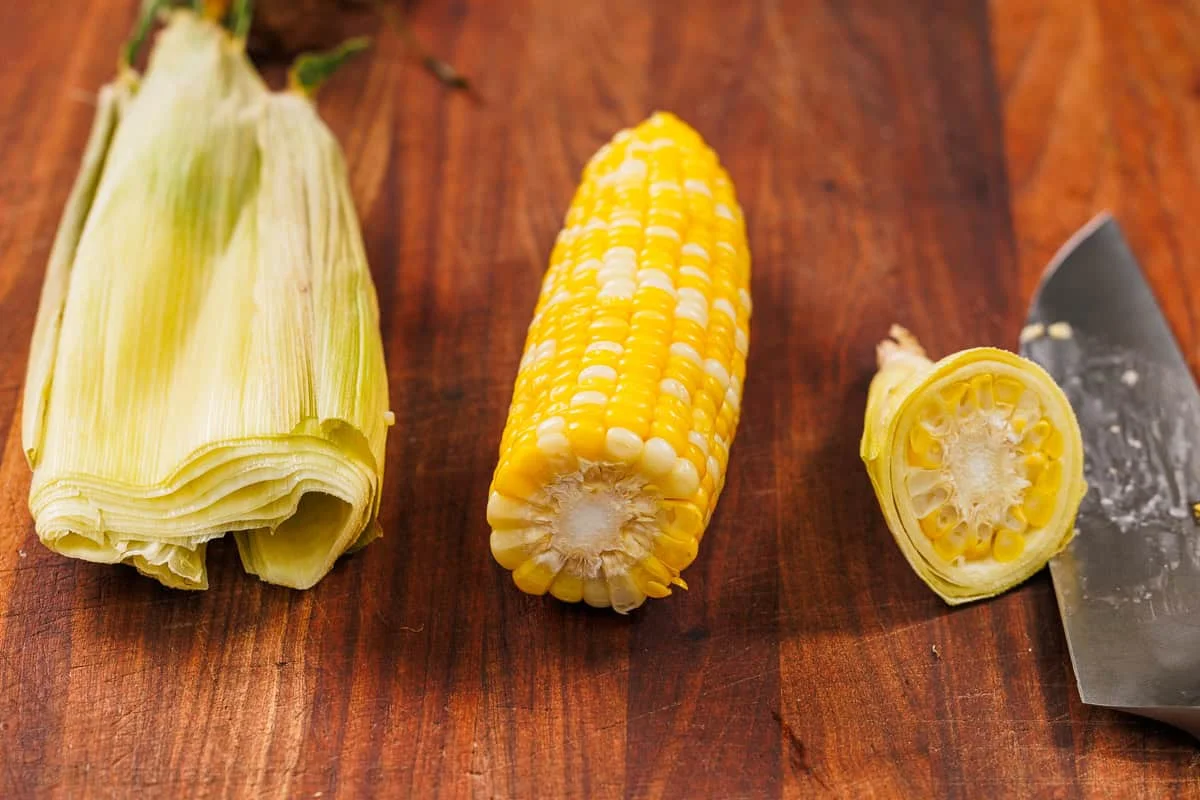
Here’s the thing nobody tells you. The husk isn’t the problem. It’s the oven bag of your corn. It traps the steam, keeps the kernels plump, and when the corn is done, the whole cob just slides out of the husk. Most of the silk stays behind. You do almost no shucking, no boiling, no babysitting.
This one passed the Tuesday test. It’s the fastest way I’ve found to get sweet, juicy corn on the table when you only need a couple of ears.
What you need
The entire ingredient list is this:
- 1 ear of corn on the cob, husked, up to 4 ears (in the husk)
- Butter and salt, for serving (or whatever you like to put on corn)
That’s it. When you’re picking corn at the store, look for ears with bright green husks and brown, sticky-looking silk on top. And when you get home, keep any uncooked ears in their husks in the fridge — it keeps the kernels moist and plump for a few days.
How long does it actually take?
Here’s the chart I use. Times vary a little with ear size and your microwave’s wattage, so I start at the lower end for smaller ears and give bigger ones the full range:
- 1 ear: 3 minutes
- 2 ears: 4 to 5 minutes
- 3 ears: 6 to 7 minutes
- 4 ears: 7 to 9 minutes
The corn is done when the kernels are plump, steaming hot, and crisp-tender. If your ears are on the really big side, add 30 seconds.
How to microwave corn on the cob
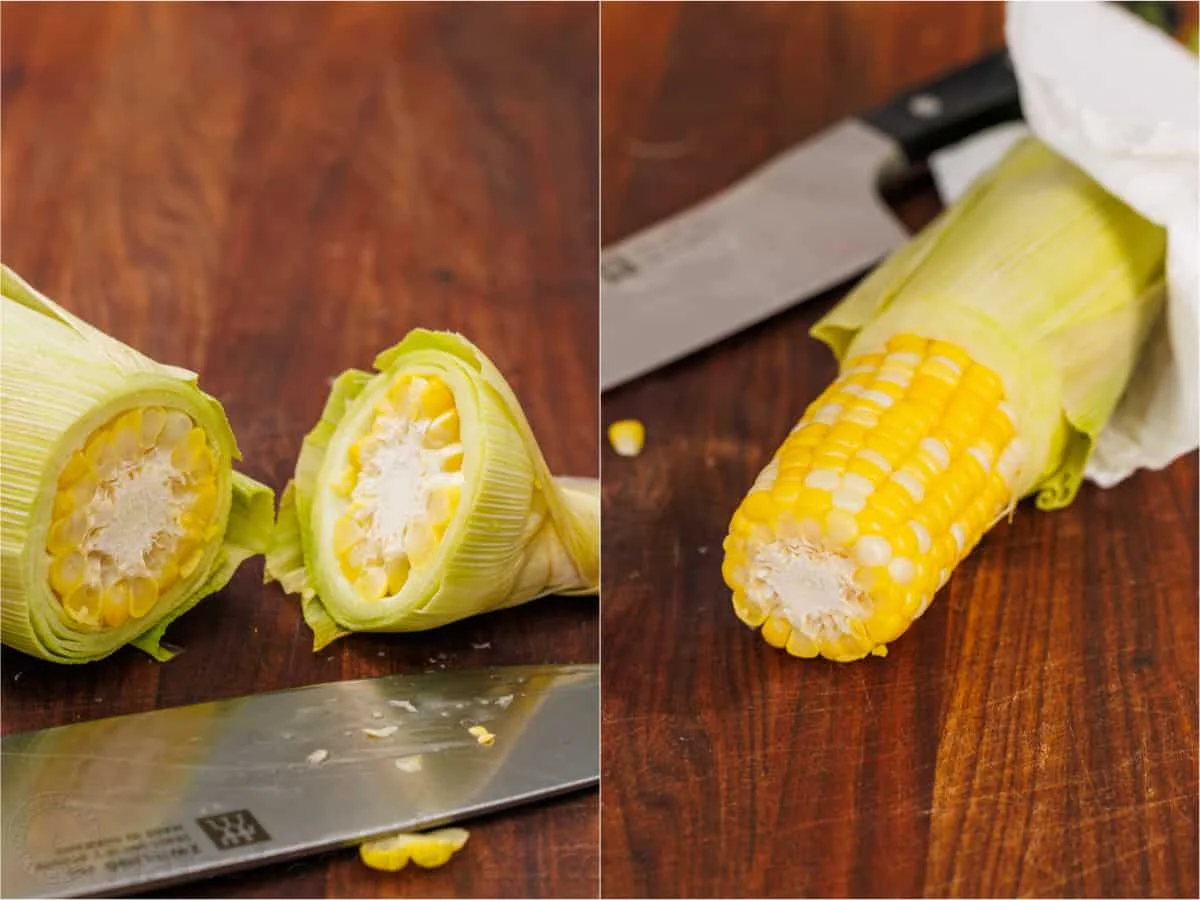
- Microwave the corn. Place the ears in a single layer, husks still on, and microwave on high using the times above. For 3 to 4 ears, rearrange them halfway through if your microwave cooks unevenly. Use tongs to move the corn — it will be hot.
- Let it rest. Leave the corn on the counter for 1 to 2 minutes. The husks and the steam inside them are very hot, and a short rest makes the next step much more pleasant.
- Cut off the stem end. Using a sharp knife, cut straight off the bottom end — about 1 inch, cutting right through the bottom row of kernels. This releases the cob from the stem.
- Push the cob out. Hold the silk end with a clean kitchen towel and squeeze gently downward toward the cut end. The cob slides right out, leaving the husk and most of the silk behind. If it resists, trim a little more off the stem end and try again.
- Serve. Warm, with butter and salt. Done.
Can you microwave corn without the husk?
Yes. If the corn is already shucked, or the husk is papery and dry, wrap each ear in a damp paper towel before microwaving. The towel does the same job the husk does — it holds moisture in around the kernels. With fresh, green husks you don’t need it at all.
What to serve it with
Microwaved corn is my default summer side, and it goes with nearly everything we cook in the warmer months — a surf-and-turf dinner, grilled steak kabobs, a smash burger, honey-glazed salmon, Instant Pot ribs, or a simple cilantro-lime chicken. If you’re feeding a crowd and want a bigger side to go with it, my favorite easy summer salads take a few minutes and keep well in the fridge.
Storage and reheating
Corn like this is best eaten right away, but it keeps well if you need it to. Refrigerate cooled leftovers in an airtight container for up to 4 days. To reheat, wrap the cob in a damp paper towel and microwave in 20-second intervals until warm. For the freezer, cut the kernels off the cob and store them in a freezer-safe container for up to 3 months.
I keep this method in my back pocket for every summer. No pot of water, no shucking over the sink, no waiting. Just two ears of corn, a few minutes, and the smell of something fresh filling the kitchen.
A note from Nora: the first time I tried this, I pushed the cob out with my bare fingers and learned exactly why a kitchen towel is in the instructions. It was fine. Mostly. If I can make it on a Tuesday, it’s a keeper.


Leave a Reply