
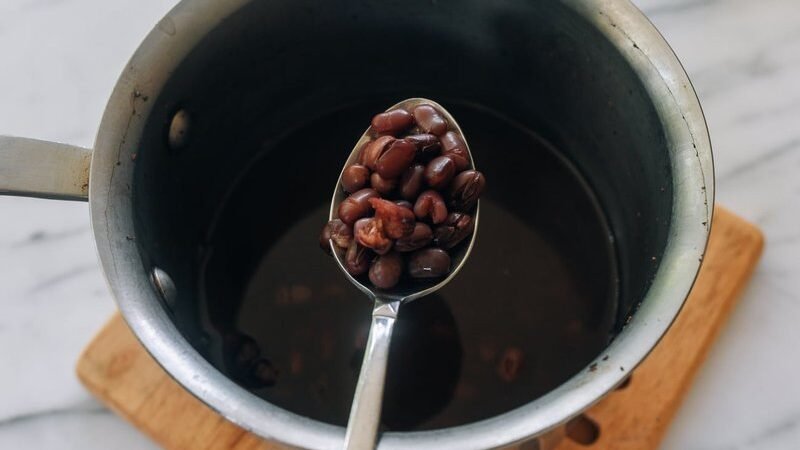
One of those afternoons when the kitchen was already warm before I’d even turned the stove on, I realized we’d run out of ice cream and still had a full freezer of options I’d never made. That’s how these red bean popsicles happened — a little experiment that turned into a family favorite, and now my daughter has been asking for them after dinner without fail.
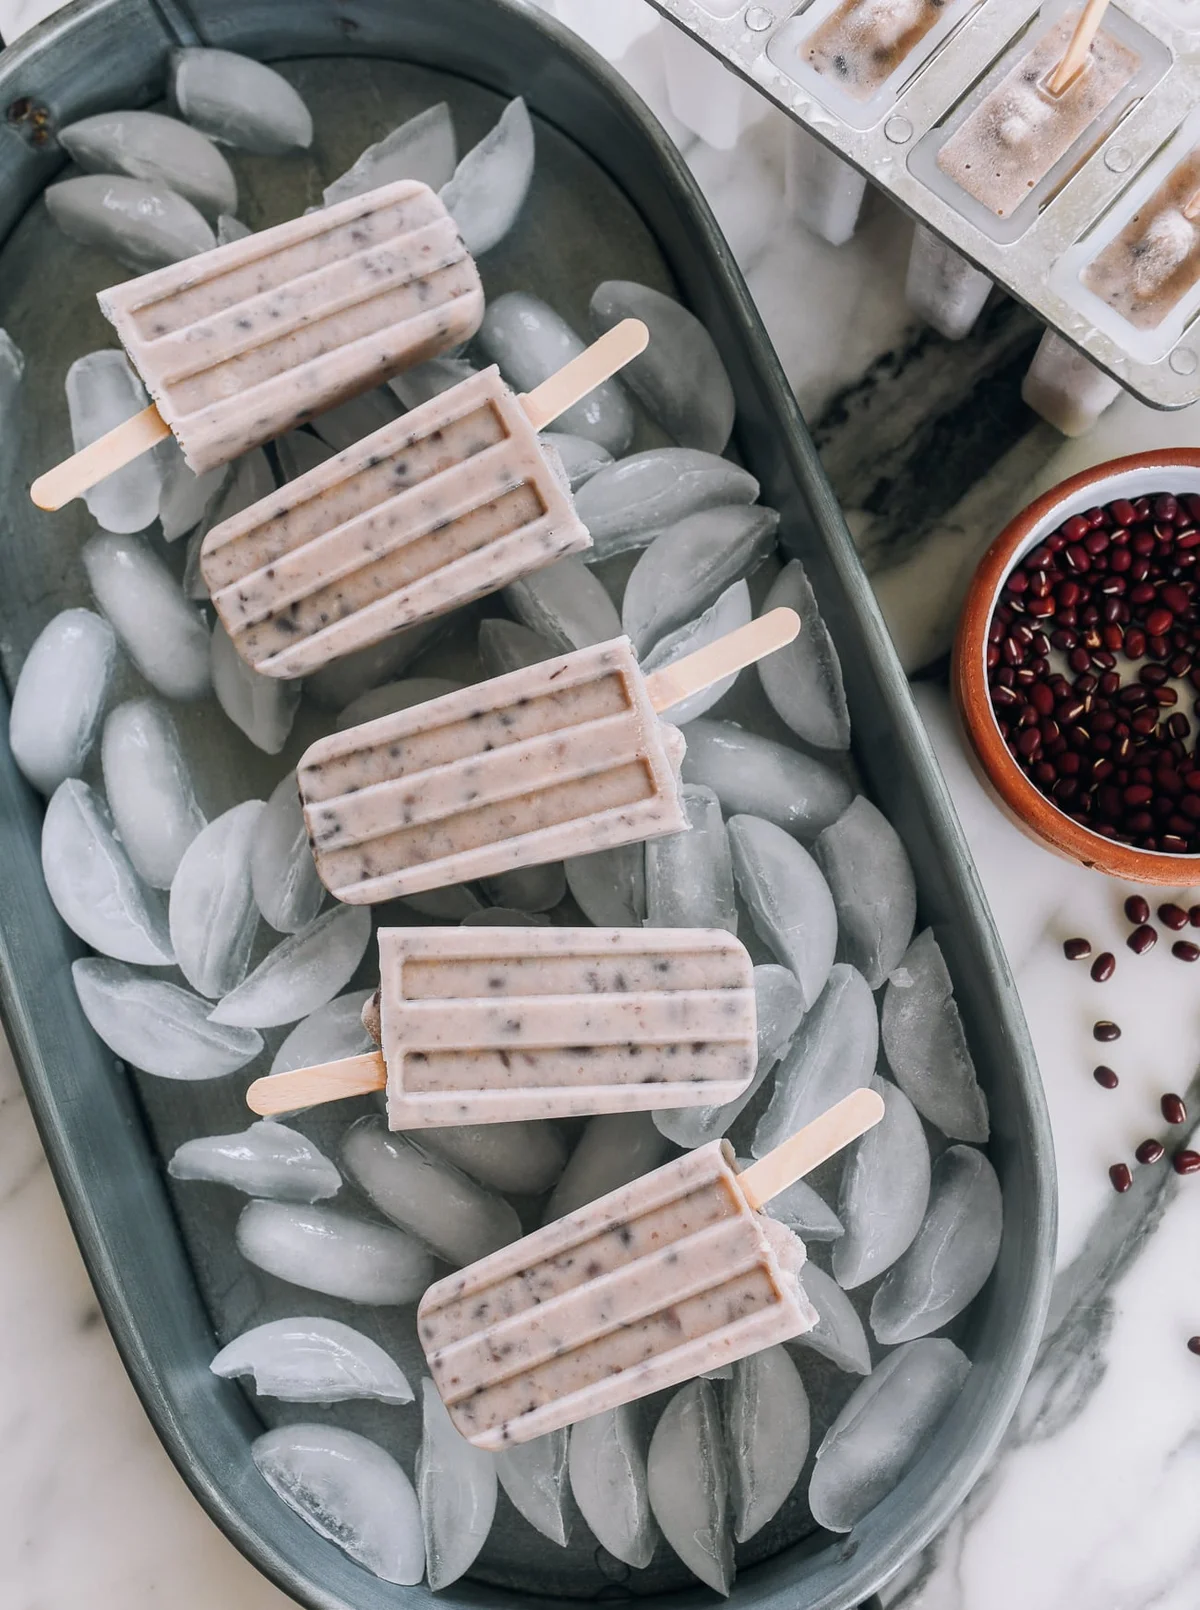
Red bean popsicles are an all-time favorite Asian dessert during the summertime, and this version is super creamy and sweet — almost like red bean ice cream. Even better than the ones you remember from childhood, if you’re lucky enough to remember any.
For folks who haven’t met them: red beans (adzuki beans) are small, sweet red legumes that are a staple in East Asian desserts — think red bean paste in pastries, or the creamy filling in boba tea. On their own, cooked down and mashed, they taste like a naturally sweet, earthy version of what you’d expect from a dessert base.
Why this recipe
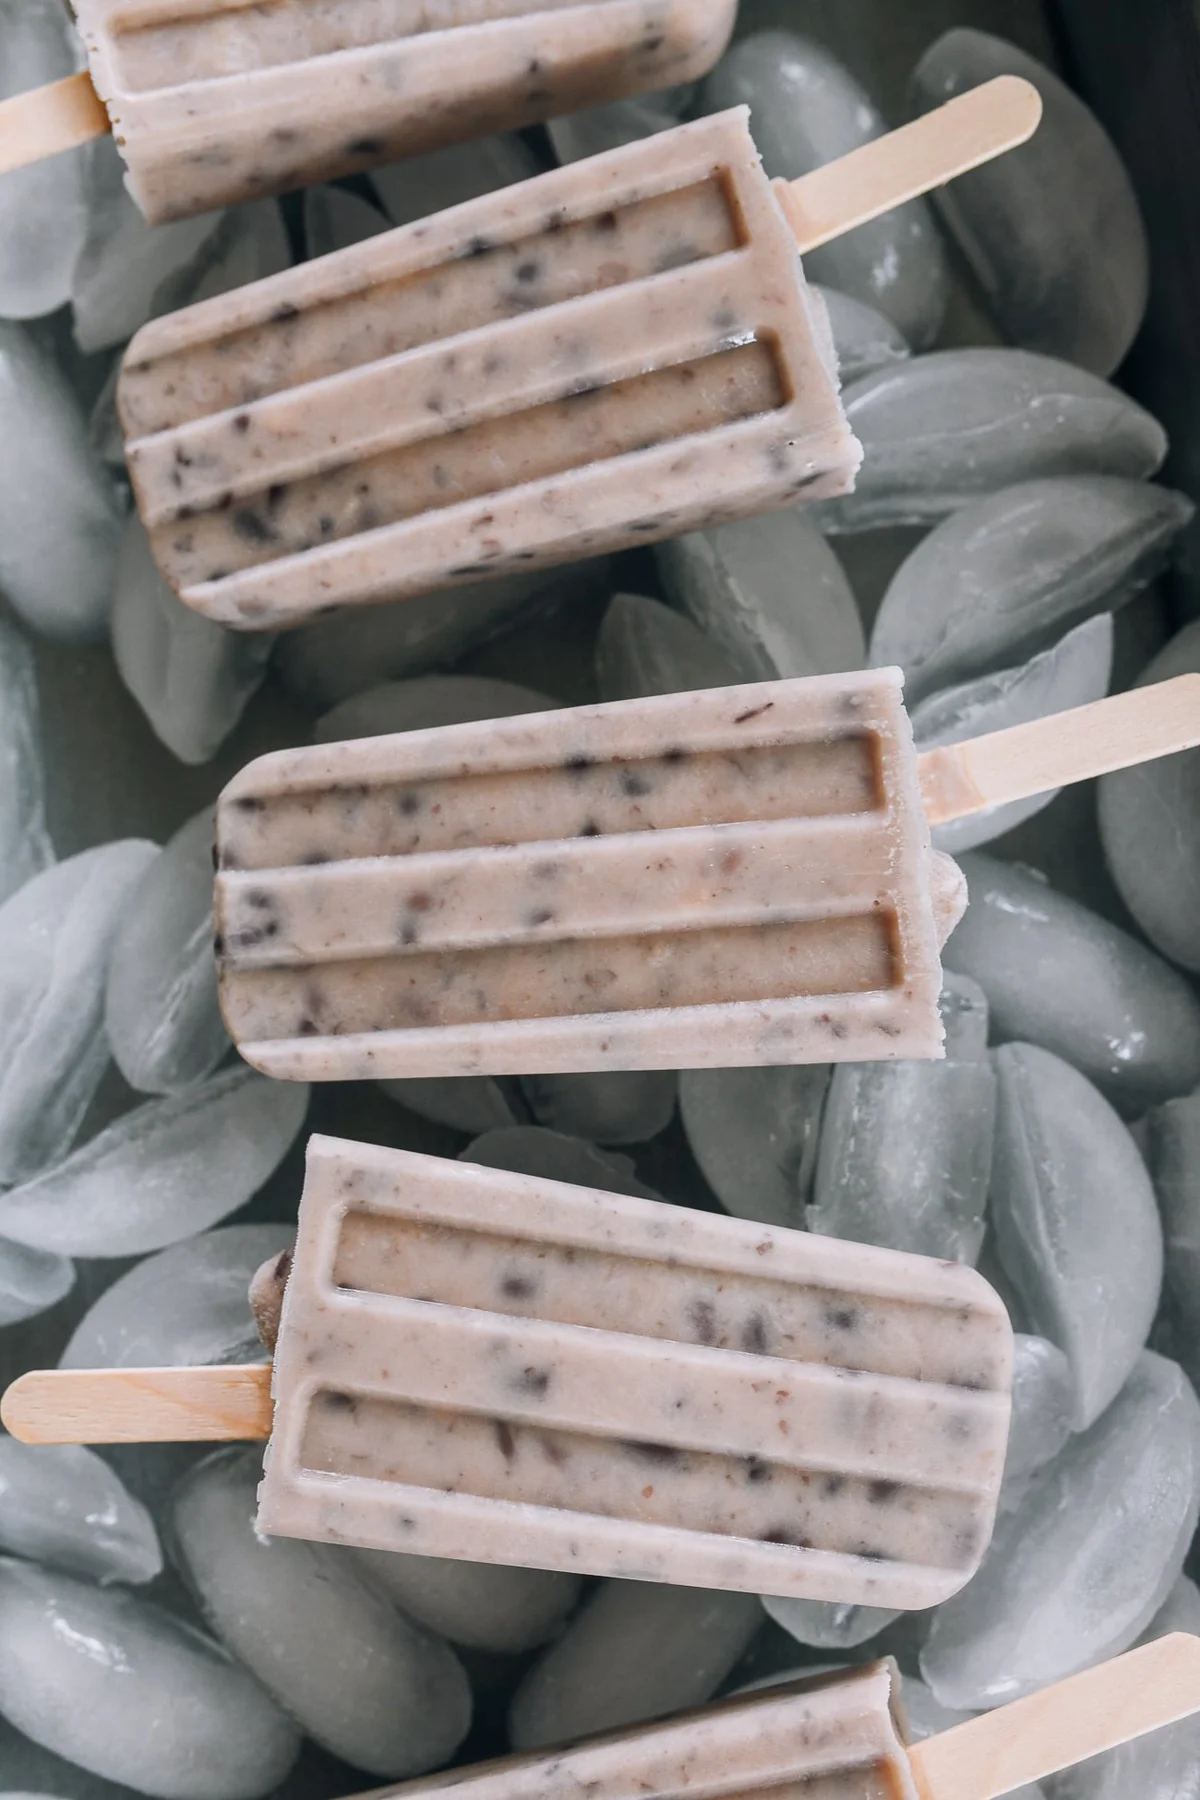
I’ve been through a few iterations of this. An early version had a sprinkle of cooked whole beans at the base of the mold, so you could bite off and chew them — kind of like getting chocolate chips in ice cream. That first batch was also more icy and less sweet, the way you’d find in a lot of traditional Chinese popsicles. Honestly? The first batch I made, no one was very interested in trying it.
So I kept testing, and this is the version that works: a perfectly creamy red bean base, made from plenty of mashed red beans, whole milk, and heavy cream, with a little vanilla to round it all out. It tastes almost like an ice cream bar — just frozen, and better for you than most ice cream bars. The last batch I made? Everyone was quick to ask for one out of the freezer.
One note on the backstory: this popsicle has a little history for our family. We spent some time living in China, and during those years we’d regularly pop into neighborhood convenience stores to grab a cooling popsicle during scorching Beijing summers. Red bean ones were everywhere — beloved by Chinese, Korean, and Japanese folks alike. So when I finally found myself making them at home, there was a small family debate about whether to lean into the Western ice cream bar style or keep it more authentic. This is the compromise: creamy and sweet, with a nod to the original.
Adjust the sweetness to your liking
As always, I offer guidelines rather than hard rules. If you want a “commercial” level of sweetness, go for 2/3 cup (135g) of sugar. If you’re watching your sugar or prefer less sweet desserts, 1/2 cup (100g) may be sweet enough. Just keep in mind that popsicle mixtures taste less sweet once frozen, so it’s best to use at least 1/2 cup.
You decide — this is one of those recipes where “I like mine a little sweeter” and “I like mine a little lighter” can both be correct.
Ingredients
Here’s what you need for about 10 popsicles:
- 1/2 cup dried red beans (adzuki beans)
- 3 cups water (plus more for soaking)
- 1 1/4 cups whole milk
- 2 teaspoons cornstarch
- 3/4 cup heavy cream
- 1/2 – 2/3 cup granulated sugar (adjust to taste)
- 1 teaspoon vanilla extract
- Wooden popsicle sticks and a popsicle mold
Timing: 45 minutes active prep and cooking, plus 12 hours of soaking and overnight freezing. Total about 14 hours, most of it hands-off.
Step by step
1. Soak the beans. Soak the red beans in water overnight. Drain them and add them to a small pot with 3 cups of fresh water.
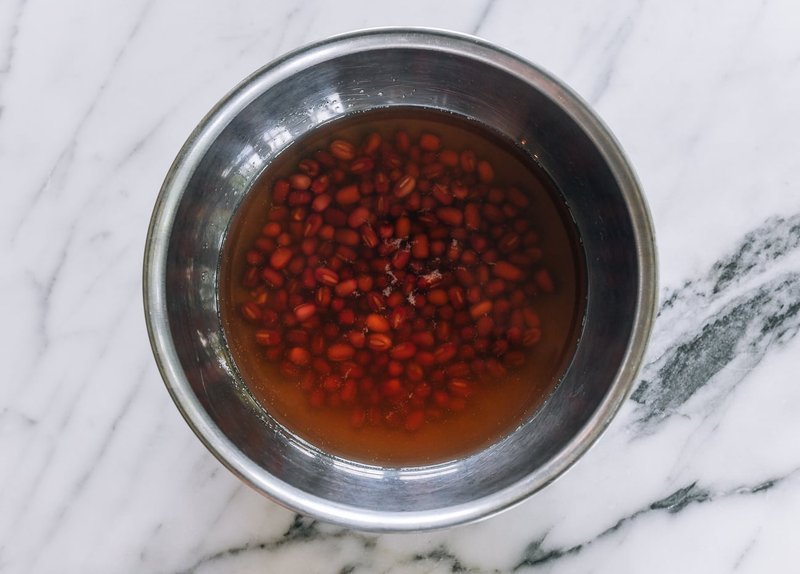
2. Cook the beans. Bring to a boil, then reduce the heat to medium or medium-low, leaving the lid slightly ajar to prevent overflow. Simmer for 30–45 minutes until the beans are fully softened and the skins are beginning to open up. If your beans are older and have been sitting on the shelf, they may need a bit longer — check periodically and add a little more water if it cooks off before the beans soften. You don’t want excess liquid, so don’t add too much.
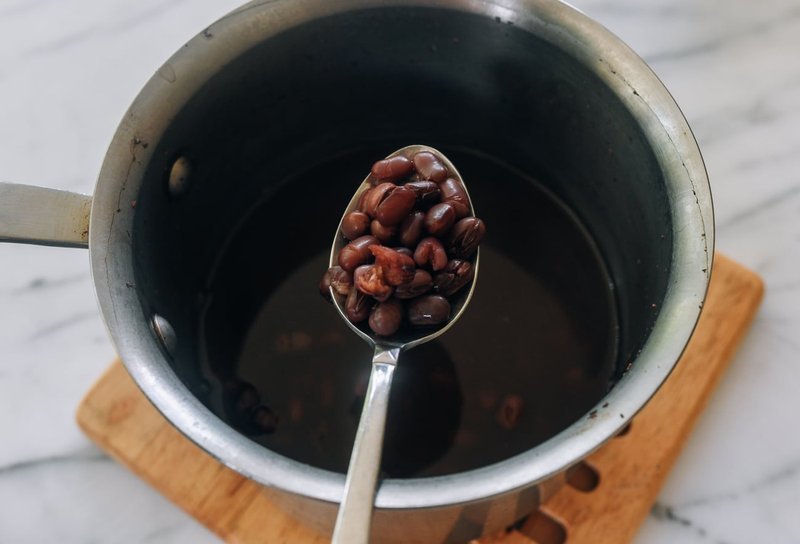
3. Mash the beans. Once the beans are done, drain off all the liquid into a bowl (it’s worth drinking with or without a little sweetener — genuinely good for you). Gently mash the beans with a potato masher until a paste forms. Set aside.
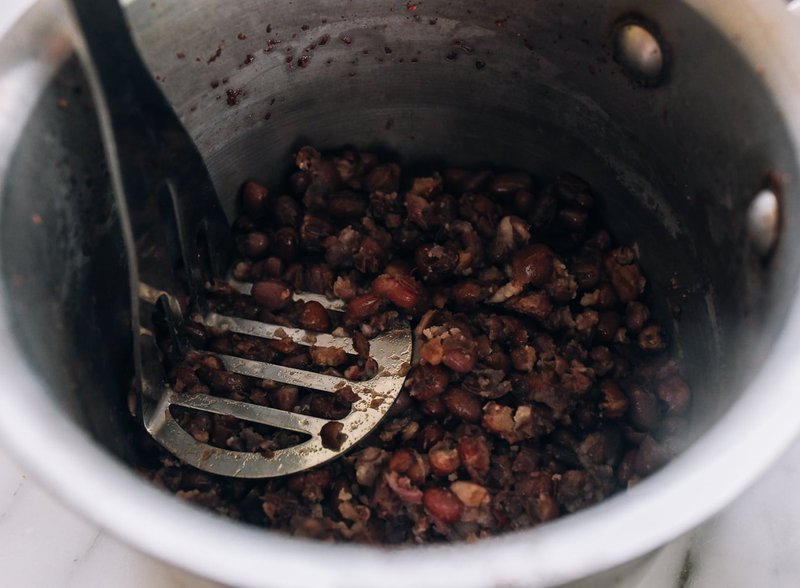
4. Make the cream base. In a separate pot, add the milk and stir in the cornstarch until completely dissolved. Then add the heavy cream, sugar, vanilla, and mashed red beans. Cook until you start to see small bubbles. This is the part where you stay at the stove — it’s not hard, but it’s not a walk-away step. Once the mixture reaches a boil, stir until everything is well combined and remove from the heat. Cover with a tight-fitting lid and let cool.
5. Fill the molds. When the mixture is fully cooled to room temperature, stir it up and fill each mold until it’s about 95% full. Cover with the lid, insert the wooden sticks, and freeze overnight. (Tip: make sure the lid is straight, or your sticks will end up crooked — as they did in our photos, whoops!)
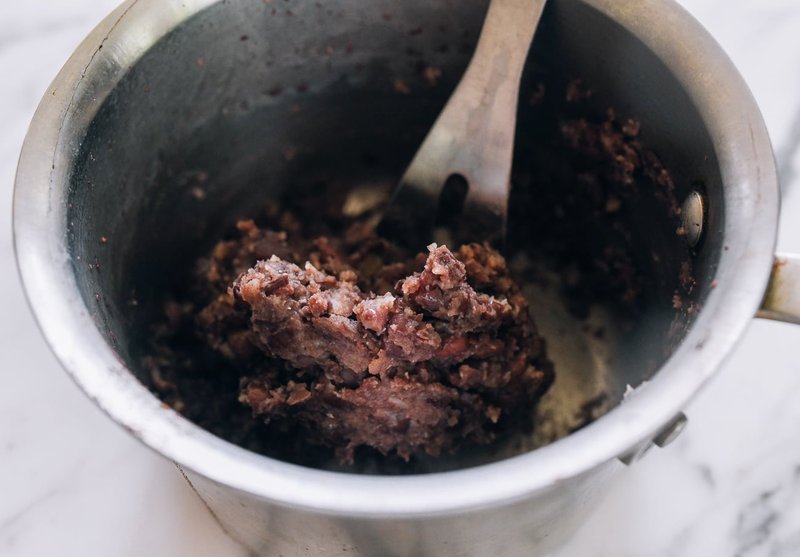
6. Enjoy. The next day they’re ready to pop out. For longer-term storage, I remove them from the molds and place them in a freezer bag. They’re at their best within about 2 months.
Chunky or smooth?
Many recipes call for a blender or food processor, but I find a good old-fashioned potato masher does the trick just fine. If you prefer a perfectly smooth texture, you can process the beans until the skins break down into a smooth paste. Both versions work — it really depends on whether you want a little texture or not.
Red Bean Popsicles
Yield: 10 popsicles · Prep: 45 min · Cook: 1 hr 15 min · Soak: 12 hrs · Total: ~14 hrs
Equipment: Popsicle mold, popsicle sticks
Ingredients: 1/2 cup dried red beans (adzuki) · 3 cups water (plus soaking water) · 1 1/4 cups whole milk · 2 tsp cornstarch · 3/4 cup heavy cream · 1/2–2/3 cup granulated sugar · 1 tsp vanilla extract
Nutrition per popsicle (est.): 162 kcal · 19g carbs · 5g protein · 8g fat · 1g fiber · 12g sugar
Nutrition values are estimates and will vary with brands and ingredients. For accurate values, run the actual quantities through your preferred nutrition calculator.
A quick note: this recipe is naturally gluten-free, and if you swap the dairy for a plant-based milk and cream, it’s vegan-friendly too. My daughter, who is still quite picky about anything “weird,” has completely changed her mind about these — she’ll even share one with the dog, which is a first for our household.
A note from Nora: The first time I made these, I overfilled the molds and one of the sticks was basically a popsicle-shaped ice cube situation. The second batch I made, I learned my lesson about the 95% fill line — and about letting the mixture cool completely before pouring, which keeps the texture creamy instead of icy. This one passed the Tuesday test, with the caveat that the “Tuesday” part is really just the 45 minutes of active work. The rest is patience, and a freezer that’s been cleared out in advance.
Maybe that’s the real gift of a good frozen dessert: it doesn’t fix the heat, but it makes an ordinary summer afternoon feel a little bit like a treat. If you can make it on a Tuesday, it’s a keeper.
Leave a Reply