
It’s 5:40 on a Tuesday. Sam is still grading papers at the kitchen table, our daughter is halfway through a second round of crayons, and the question that decides the next two hours is on everyone’s mind: what’s for dinner?
My answer has been the same for months now. Beef tacos. Not because they’re fancy — they’re the opposite of fancy — but because the meat comes together in one skillet in about 25 minutes, and the toppings turn the table into a little taco bar. My daughter helps build hers, no one complains, and the only cleanup is the pan.
I tested this recipe the way I test everything here: a few times, on real weeknights, with real interruptions. It passed the Tuesday test, which means I can make it without thinking.
Why this recipe earns a spot in rotation
The trick to taco meat that never goes dry is simple: brown the beef properly, leave a spoonful of the rendered fat in the pan, and let the meat simmer in a little liquid until it’s saucy but not soupy. The result is juicy, deeply seasoned, and better than the directions on the back of the packet — in about the same amount of time.
You can absolutely use a store-bought taco seasoning. But I hope you’ll try making your own — it’s the difference you can taste in every bite, and it takes one small bowl.
Ingredients
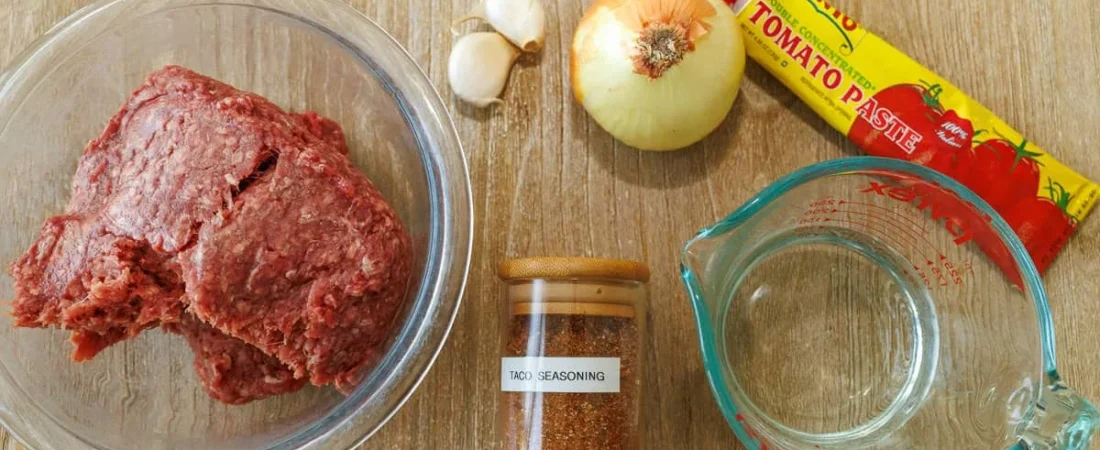
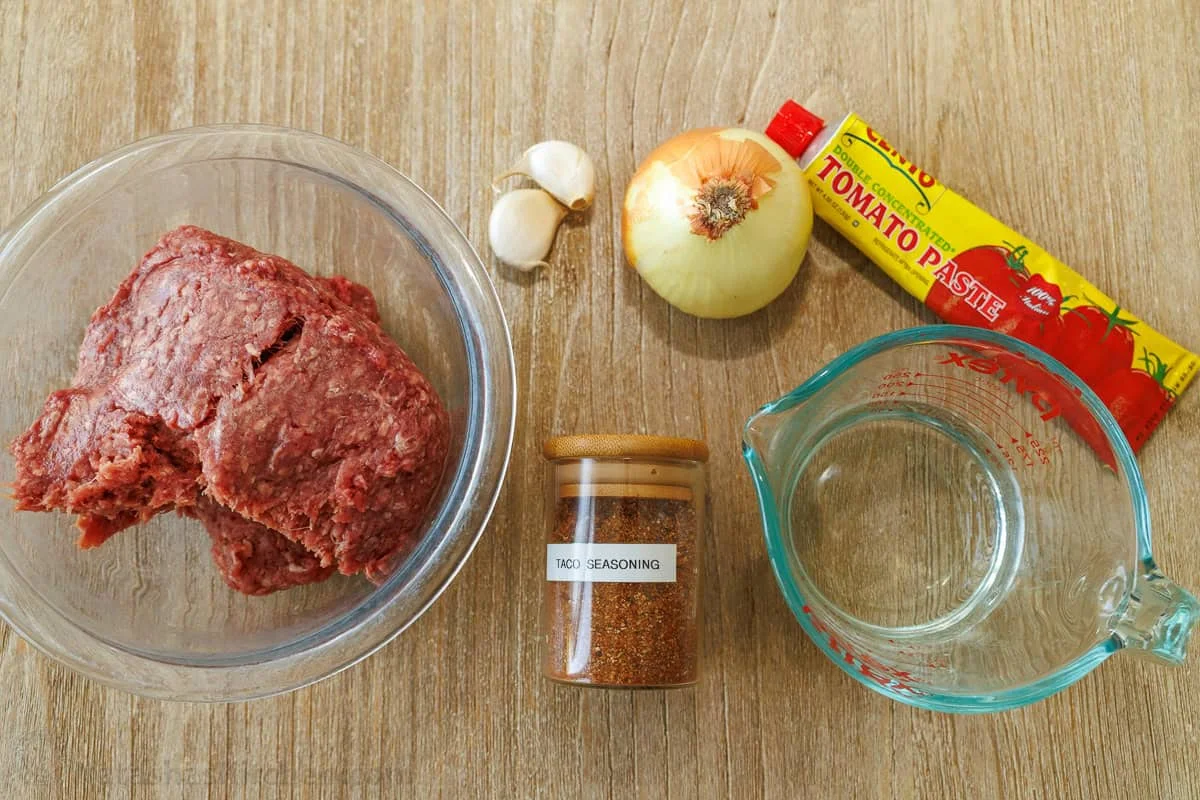
Six things for the meat, plus whatever’s in your fridge for topping. Check your pantry first — you may already have all of it.
- 1 lb (about 450g) ground beef — 85/15 is the most flavorful; if you use leaner meat, drain some of the grease after browning
- 1 small yellow or white onion, finely diced
- 2 garlic cloves, minced
- 1 Tbsp tomato paste — this is what gives the meat its depth
- 1/2 cup (about 120ml) water (or chicken or beef broth for more flavor)
- 3 Tbsp taco seasoning, homemade or store-bought
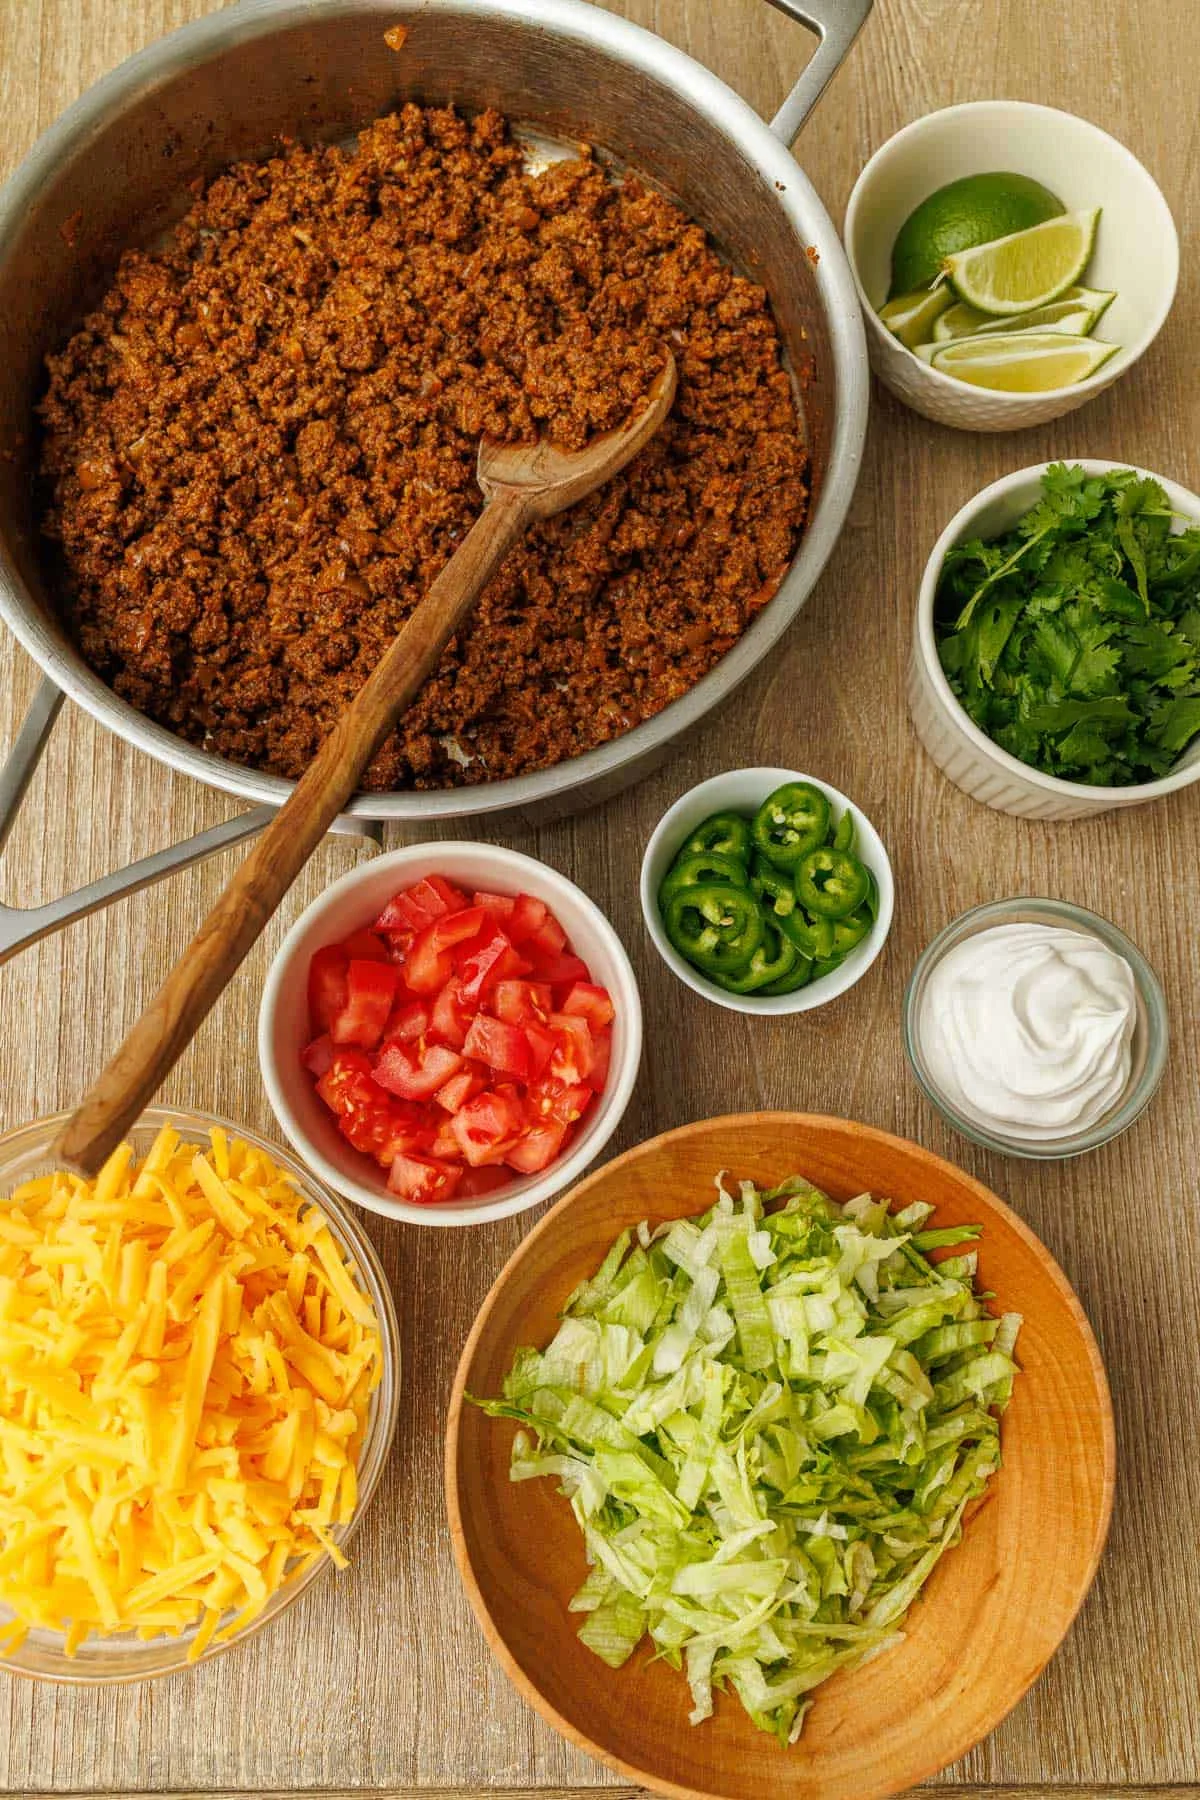
For serving: 8 taco shells or small tortillas, plus the toppings below.
How to make ground beef tacos
Prep takes about 10 minutes, cooking about 15. Start to finish, roughly 25 minutes — a true 30-minute dinner.
- Make the seasoning. If you’re using your own blend, stir the ingredients together in a small bowl. If you’re using a store-bought packet, just measure out 3 Tbsp and skip to the next step.
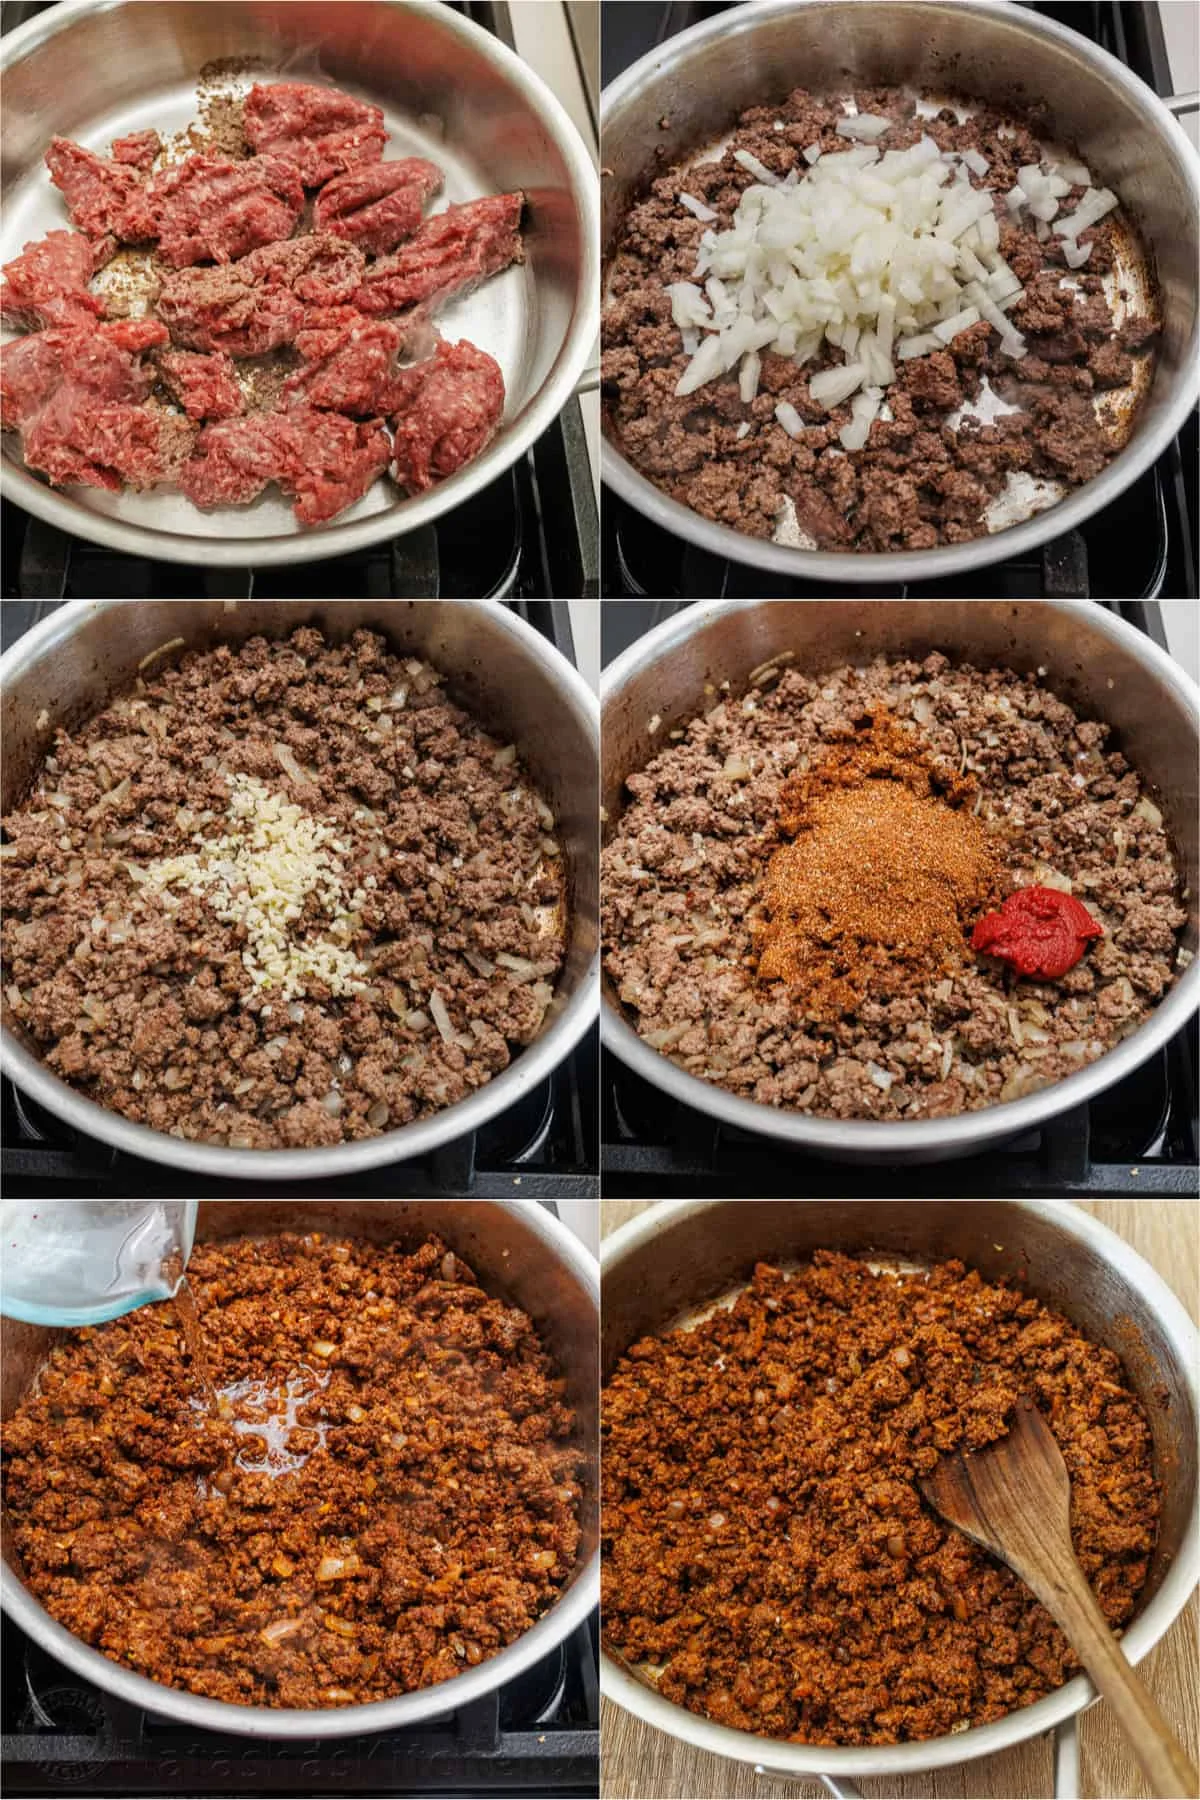
- Brown the beef. Heat a large skillet over medium-high heat, add the ground beef, and cook, breaking it up with a spatula, until it’s mostly browned — about 4 minutes.
- Add the onion and cook for 3 to 4 minutes, until it’s softened and the beef is fully browned. Stir in the garlic and cook for 30 seconds, until fragrant. If the pan is greasy, spoon off most of it, leaving about 1 Tbsp — that’s where the flavor lives.
- Add the 3 Tbsp taco seasoning and 1 Tbsp tomato paste. Stir and cook for 1 minute so the beef is evenly coated and the seasonings toast a little.
- Pour in 1/2 cup water, lower the heat to medium-low, and simmer uncovered for 3 to 4 minutes, stirring occasionally. You want the mixture juicy and lightly saucy — never dry, but no pooling liquid either.
- Warm your shells or tortillas (see below), fill each one with taco meat, and top to taste.
Warming the tortillas
This is the step people skip, and it’s the one that makes the tacos feel proper.
- Corn or flour tortillas: warm in a dry skillet over medium heat for 20 to 30 seconds per side, until soft and pliable. Stack them and cover with a towel. In a hurry? Wrap a stack in a damp paper towel and microwave for 30 to 45 seconds.
- Store-bought hard taco shells: toast on a baking sheet in a 325°F (about 165°C) oven for 4 to 6 minutes, until lightly toasted.
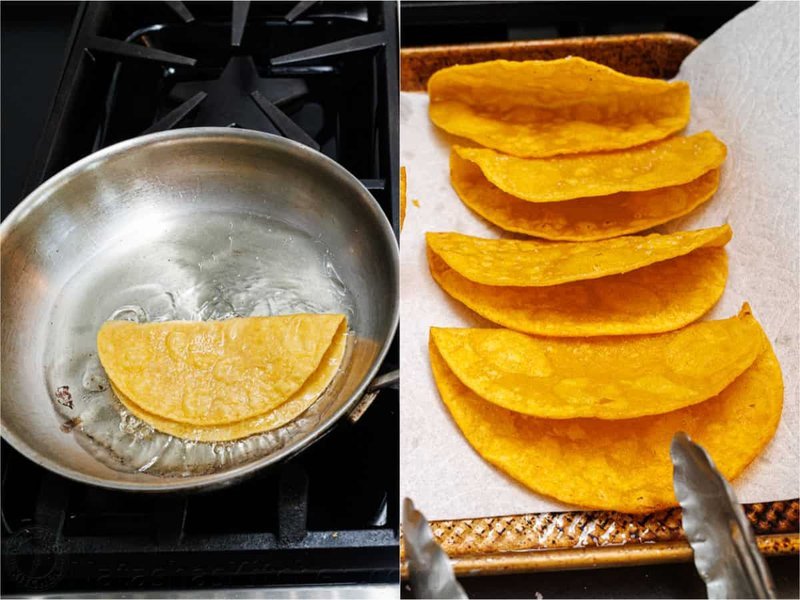
- For homemade crispy shells, you only need tortillas, oil, and kosher salt — fry, drain, and salt until crisp.
Build a taco bar
My kids love a good taco bar because everyone customizes their own plate, and nobody complains about their portion. Set the toppings out in small bowls or cups — you can prep almost all of them a day ahead and keep them in the fridge (the avocado is the exception).
- Shredded lettuce
- Diced tomatoes, pico de gallo, or salsa
- Shredded cheddar or Mexican blend cheese
- Sour cream and hot sauce
- Guacamole or sliced avocado
- Jalapeños, cilantro, and lime wedges
- Cilantro-lime rice and black beans, if you’re feeling ambitious
It’s also a great recipe to double for a crowd, or to repurpose — the same meat works in burritos, over a taco salad, or as the base for tacos the next night.
Make-ahead, storage, and reheating
- Make ahead: cook the taco meat, let it cool, and refrigerate it in an airtight container for 3 to 4 days.
- Freezing: pack it in a freezer-safe container for up to 3 months, and thaw it in the fridge overnight.
- Reheating: put the meat in a skillet with a splash of water and heat, stirring, until it reaches 165°F (about 74°C). The water is what keeps it from drying out.
Gluten-free? Check the labels on your seasonings and swap the tortillas for lettuce wraps or gluten-free tortillas.
Per serving: 224 kcal, 17g carbs, 13g protein, 11g fat, 2g fiber.
A note from Nora
The first time I made these, I used whatever ground beef was on sale — the lean stuff — and the meat came out a little dry. Lesson learned, noted in the recipe above: 85/15 if you can find it, and don’t drain the pan all the way. Last week Sam asked me to make them again for the second time in a month, and our daughter carried a lime wedge to her seat like it was a very important business tool. That’s about all the review I need.
If I can make it on a Tuesday, it’s a keeper.
Leave a Reply