
There is a jar on my counter that has been sitting there for two weeks, and I keep pretending to forget about it. Sourdough discard. I feed my starter every few days, and the extra just… accumulates. For a long time I treated it like a chore I was avoiding, the kind of thing you can only face on the weekend.
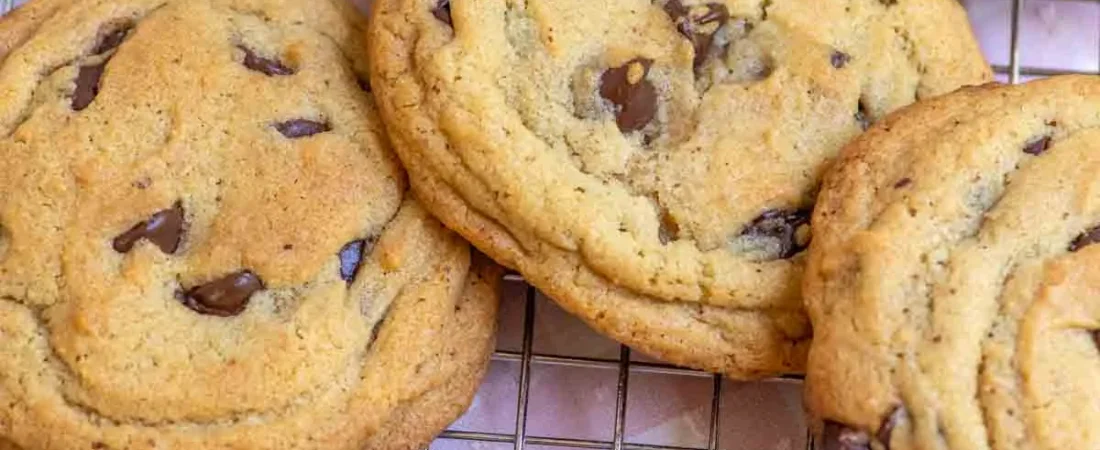
Then one of those slow Saturday afternoons I decided to finally use it up, and these cookies came out of the oven with crisp golden edges, soft centers, and a depth of flavor I honestly didn’t expect. The browned butter is what changed everything.
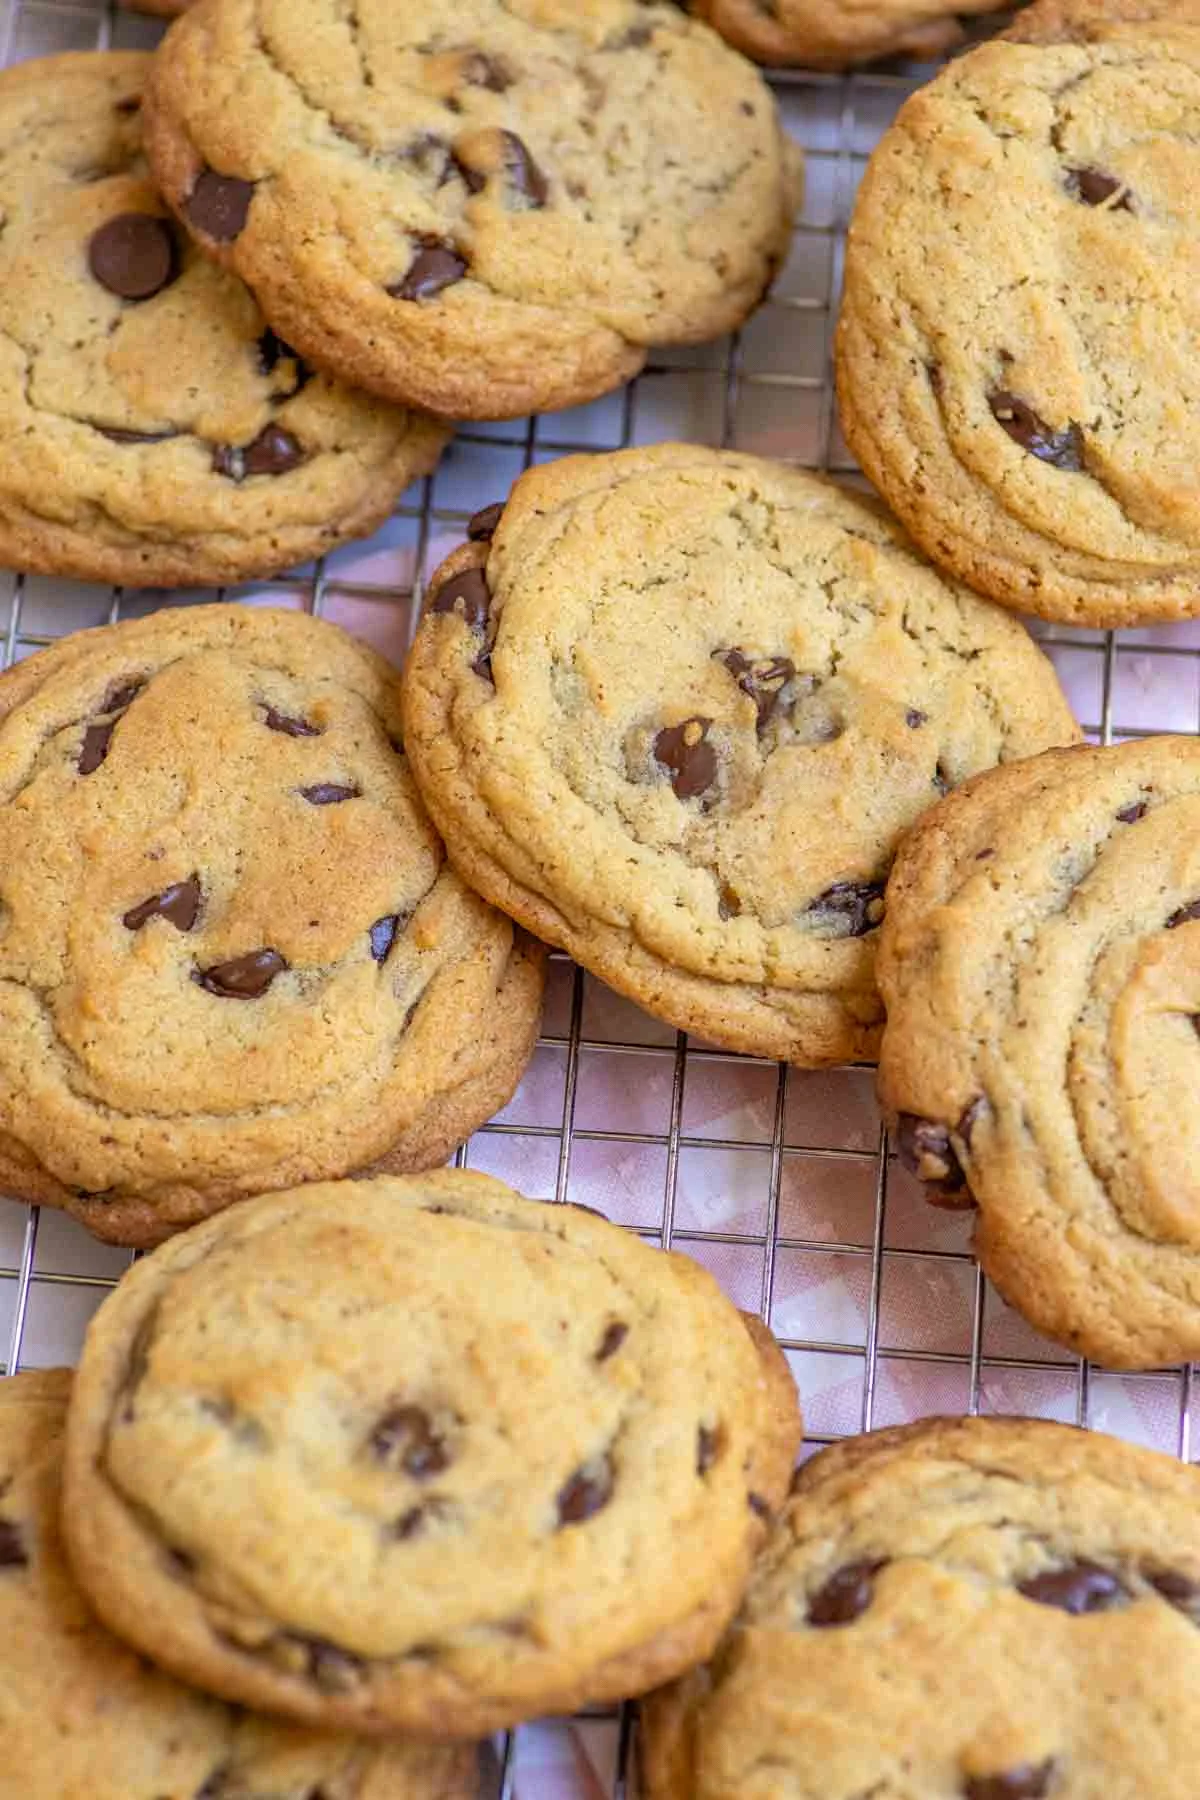
They look like a bakery cookie. They taste like one. And the recipe uses the exact ingredients I already keep in the pantry. This one passed the Tuesday test — if I can make it on a Tuesday, it’s a keeper.
Why you’ll love these
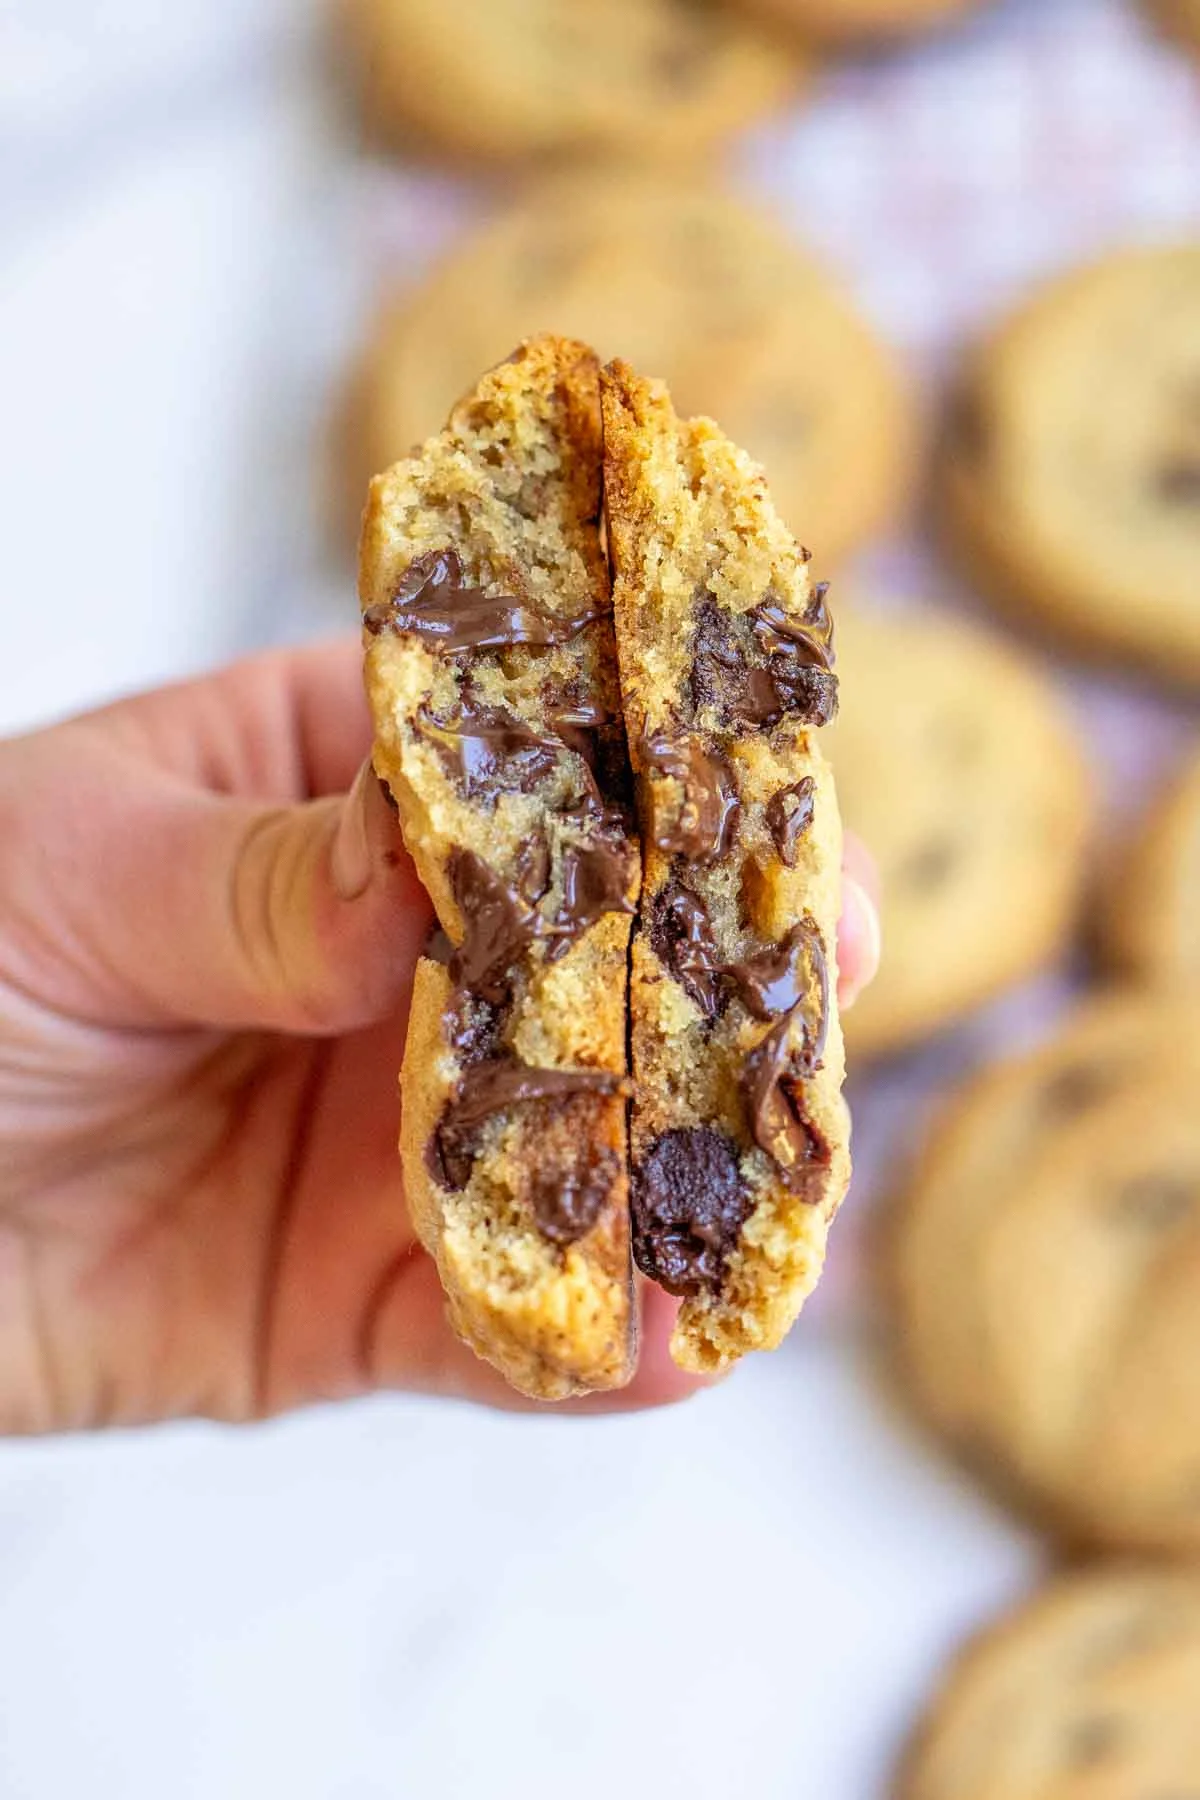
- Thick, bakery-style cookies with crisp edges and soft chewy centers
- Rich, nutty caramel flavor from browned butter
- A genuinely useful way to use sourdough discard (or active starter — both work)
- Simple pantry ingredients, one extra step worth doing
- Can be baked right away, or long fermented for even deeper flavor
- Freeze beautifully, baked or as dough
I make a double batch and freeze half. Around here they do not survive the weekend.
The ingredients
A few of these matter more than the rest:
- Browned butter. This is the whole point. Browning it takes one extra step and gives the dough a deep, nutty, caramel flavor that plain butter just can’t. Absolutely worth it.
- Brown sugar. Keeps the cookies soft and chewy and adds a subtle caramel note that plays beautifully with the browned butter.
- Vanilla extract. A good quality one — it deepens all the warm flavors in the dough.
- Sourdough discard. Adds a gentle tang that balances the sweetness without making the cookies taste sour, and helps with that chewy texture. Active starter works just as well.
- All purpose flour. Gives the cookies structure while keeping them tender.
- Baking soda. Does the rising, and helps create those crisp edges and soft centers.
- Chocolate chips. I use semisweet. Dark chips or chopped chocolate work great too if you like a richer chocolate flavor.
- Flaky sea salt, optional. A light sprinkle after baking makes the chocolate and browned butter sing, and gives them that bakery finish.
Full measurements are in the recipe card below.
Tips for actually-chewy cookies
- Don’t overmix once the flour goes in. Stop as soon as it’s combined.
- Chill the dough before baking — it keeps the cookies thick instead of spread flat.
- Don’t overbake. The centers should still look slightly underdone when they come out of the oven. They keep baking on the hot sheet while they cool.
- Cornstarch in the dough is the secret to a thicker, chewier cookie — it cuts down on gluten and absorbs liquid.
Tools, if you’re wondering: a medium saucepan, a stand mixer with a paddle attachment (or a strong arm and a bowl), a cookie scoop, baking sheets, and parchment paper.
How to make them
Step 1: Brown the butter. Melt the butter in a medium saucepan over medium heat, stirring often as it melts and foams.
Step 2: Keep cooking until the milk solids turn golden brown and the butter smells rich and nutty. Pull it off the heat and let it cool completely to room temperature before using it — warm butter will cook your eggs.
Step 3: In a large bowl or stand mixer bowl with a paddle attachment, combine the browned butter, brown sugar, and granulated sugar until smooth.
Step 4: Add the eggs, vanilla extract, and sourdough discard, and mix until fully combined.
Step 5: Whisk the flour, cornstarch, baking soda, baking powder, and salt together in a separate bowl. Slowly add the dry ingredients to the wet and mix until just combined.
Step 6: Fold in the chocolate chips.
Step 7: Scoop dough balls onto a parchment-lined baking sheet, leaving plenty of room — they spread a little. If you’re using a small scoop, press two scoops together to get the right size. Cover and freeze for at least 30 minutes, or refrigerate for 1–2 hours. Want deeper flavor? Refrigerate the dough for up to 3 days before baking — the long ferment makes the cookies noticeably richer.
Step 8: Bake at 350°F for 18–20 minutes for large cookies, until the edges are golden and the centers are just set. Small cookies take 10–12 minutes.
Step 9: Let the cookies cool on the baking sheet for about 10 minutes before moving them to a wire rack.
Ways to make them yours
- Dark chocolate chunks instead of chips
- Chopped pecans or walnuts
- Toffee bits for extra caramel flavor
- A sprinkle of flaky sea salt after baking
- White chocolate chips mixed in for a sweeter version
Storage
- Baked cookies keep in an airtight container at room temperature for up to 5 days.
- Freeze baked cookies for up to 3 months.
- You can also freeze scooped dough balls in a freezer-safe bag and bake straight from frozen — just add an extra minute or two to the baking time.
FAQ
Can I use active sourdough starter? Yes — active starter and discard both work well in this recipe.
Why brown the butter? It develops a deep caramel and nutty flavor that makes the cookies extra rich. It’s the step that takes a good cookie to a great one.
Can I make the dough ahead? Absolutely. Refrigerate it for up to 3 days before baking — the flavor gets better, not worse.
Why freeze the dough? Cold dough bakes up thick instead of spreading thin. And frozen dough balls keep for up to 3 months, which is handy for cookie emergencies.
Can I make smaller cookies? Yes — scoop smaller portions and bake for 10–12 minutes.
Nutrition per cookie: 376 kcal, 53g carbohydrates, 4g protein, 17g fat.
Chewy Browned Butter Sourdough Chocolate Chip Cookies
Yields 17 large cookies · Prep 10 minutes · Bake 18–20 minutes
Equipment
- Stand mixer with paddle attachment
- Baking sheets
Ingredients
- 1 cup unsalted butter, softened
- 1 cup brown sugar
- ¾ cup white sugar
- ½ cup sourdough starter discard (active starter works too)
- 2 teaspoons vanilla extract
- 2 large eggs
- 2 ¾ cups all-purpose flour
- 1 tablespoon cornstarch
- 1 teaspoon baking soda
- ½ teaspoon baking powder
- 1 teaspoon salt
- 2 cups chocolate chips (a 12 oz bag)
Instructions
- Brown the butter: melt it in a medium saucepan over medium heat, stirring often. Cook until the milk solids turn golden brown and it smells nutty. Cool completely to room temperature.
- Combine the browned butter, brown sugar, and white sugar in a large bowl or stand mixer bowl until smooth.
- Add the eggs, vanilla, and sourdough discard until fully combined.
- In a separate bowl, whisk together the flour, cornstarch, baking soda, baking powder, and salt.
- Slowly add the dry ingredients to the wet until just combined. Fold in the chocolate chips.
- Scoop onto a parchment-lined baking sheet, leaving space between the dough balls. Freeze for at least 30 minutes, refrigerate 1–2 hours, or long ferment up to 3 days for deeper flavor.
- Bake at 350°F for 18–20 minutes for large cookies (10–12 minutes for small), until the edges are golden and the centers are just set.
- Cool on the baking sheet for about 10 minutes before transferring to a cooling rack.
Notes
- Don’t skip browning the butter — it’s where the flavor comes from.
- Let the browned butter cool before mixing it with the sugars.
- Chilled dough is the difference between thick chewy cookies and flat ones.
- Don’t overbake — the centers should look slightly soft when they leave the oven.
- Long fermenting the dough for up to 3 days makes them even richer.
A note from Nora: The first time I made these, I got impatient with the cooling step and used butter that was still warm. The result was cookies that spread flat and tasted like my very first attempts at anything. The second batch, with the butter fully cooled, came out exactly right — crisp, thick, a little melty in the middle. Sam declared them better than the bakery ones, which he says on purpose, so count that as a win. If I can make it on a Tuesday, it’s a keeper — and this one can wait up to three days in the fridge if you’re feeling like a weekend project instead.



Leave a Reply